My homebrew adventure began with a trip to the local supply shop, San Francisco Brewcraft.
After a few weeks of internet research I had a pretty good idea of what I needed to get started. Most of the necessary equipment is typically
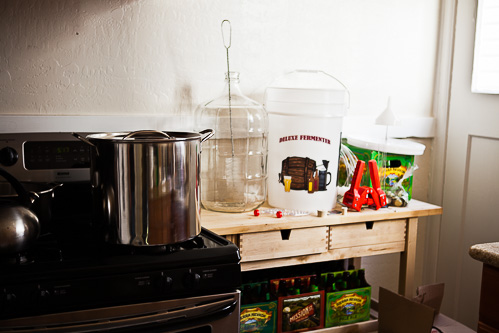
packaged up into custom kits sold by just about every brewing store around. I settled on a mid-range kit composed of a 6.5 gallon plastic primary fermenting bucket (with spigot), 5 gallon glass carboy secondary fermenter, stoppers, airlocks, cleaning brushes, hose, funnel, bottle caps and capper, auto-siphon, hydrometer, and the ingredients for the first batch of beer. I threw in a 5 gallon brew kettle and no-rinse sanitizer and was on my way to get started cooking.
Even as I opened with the fact that I was a first time brewer, everyone in the shop was eager to provide helpful advice. In fact, The homebrew community on the whole seems to be very open and welcoming of newbies just starting out on their first brew. Local shop owner ‘Griz’ discussed various tips and helped me with my first recipe. After a bit of conversation about what kind of beer I liked and wanted to make, Griz began scrawling a list of ingredients out on one of the shop’s special premade recipe template sheets. His shop hands then fetched the various ingredients and pieces of kit as he called them out.
Also highly recommended by the shop (and included with the price of the kit) was a free introductory class taught every Monday evening packed with useful information about proper sanitization, boiling, and bottling techniques. Among the helpful advice given during my short visit to the shop was to ignore all of the helpful advice on the internet – this information fell into either of the categories of boulderdash or that which made things much more complex than they needed to be. The parting tip was to just not turn it into an anal retentive process and just enjoy it. And if I happened to screw anything up, by all means call them up ASAP for help.
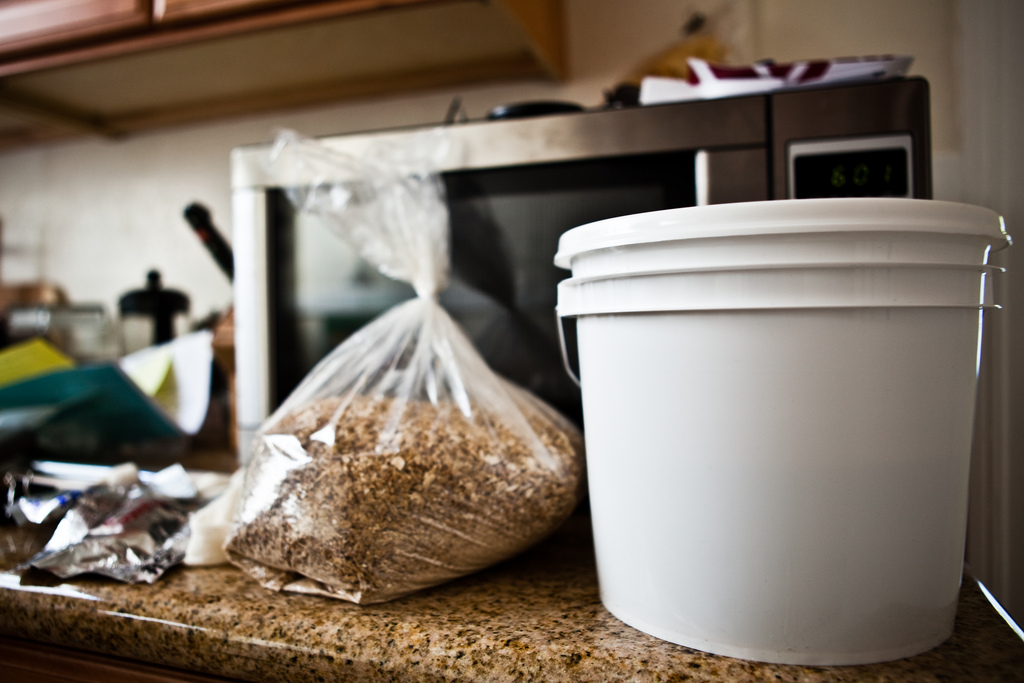
Once back home with everything from my trip unloaded in the kitchen it was time to organize and start the brewing process. With my various bits of kit and ingredients sorted out, I began poring over the included instructions. While I’m sure they aren’t the worst out there, with several sections scribbled out and margin annotations in my printed photocopied version, I’ve definitely seen better. Luckily, even with the many subtleties and nuances available to complicate things, the basic brewing process is pretty straightforward.
The procedure consists mainly of cleaning and sanitization followed by various cycles of boiling water and adding things to it. Without having a large enough brewing kettle to accommodate a full 5 gallon batch, either a partial boil or 2 step process must be used instead. The simplest method is the partial boil where a double strength wort is made with half of the volume of liquid and then added to the remaining half of water at the end. After the first half of water is has been boiled, cooled, and added to the sanitized primary fermenting bucket, it’s finally time to get down to making the wort.
The recipe I used was for a simple I.P.A. composed of:
- 2# Munich Malt
- 1/2# Aromatic Malt
- 1/2# Oats
- 6# Liquid Malt Extract
- 1oz. Galena Hops
- 1oz. Cascade Hops
- Safale US-05 Dry Ale Yeast
- 1 whirlfloc tab
Some of the exact ingredients are just a guess. I’m not even sure of the actual beer name. Griz’s handwriting is almost impossible to read most of the time. Fortunately, the recipe sheet is laid out well enough to get the gist of which ingredients go where. It just might be difficult to get the correct ingredients to ever repeat the recipe exactly elsewhere.
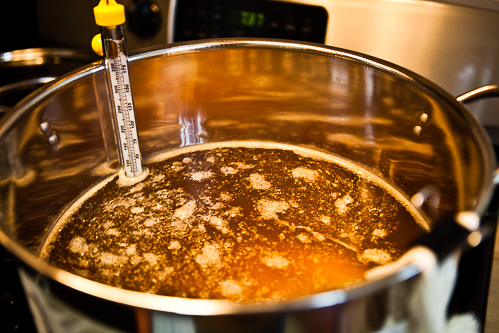
First, the specialty grains are placed in a mesh grain bag and steeped in 155° water for 45 minutes before being removed from the wort and discarded in the compost bin. Next, the liquid is brought to a full boil with the addition of the Liquid Malt Extract. The boil period lasts a full 60 minutes with this schedule of additions:
- 1 oz. Galena Hops @ 60 minutes (beginning of boil)
- 1/2 oz. Cascade Hops @ 30 minutes (halfway through)
- 1 tab whirlfloc @ 30 minutes
- 1/2 oz. Cascade Hops @ 10 minutes (almost done)
The boiled wort is then subjected to an ice & water bath in the sink to quickly cool it down below 90°. Once it has cooled, it is pitched in the primary fermenter with the yeast. While the instructions indicate that the yeast be added directly to the wort, I activated the yeast in a bit of warm water early on in my process. Since the kit only included a single yeast packet, I wanted to make sure I had good yeast before I became invested in the wort production. Finally, after everything is mixed up, a hydrometer sample is taken and the bucket is sealed up with the lid, stopper, and airlock.
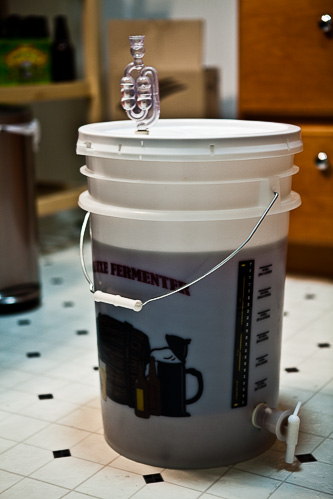
Within about 6 hours, the airlock has started to gurgle with a frequency of every 5-10 seconds, indicating that fermentation is well underway. While the recipe calls for an original specific gravity of 1.062, I landed at 1.050. I’m not sure what I did in the process to affect this, but I suspect it may have been during the grain steeping step. It should ready to rack the brew into the secondary fermenter in about a week. In another two weeks, it should be ready to bottle with another 2-3 weeks of bottle conditioning before it’s finally time to find out if I’ve successfully homebrewed my first batch of beer.