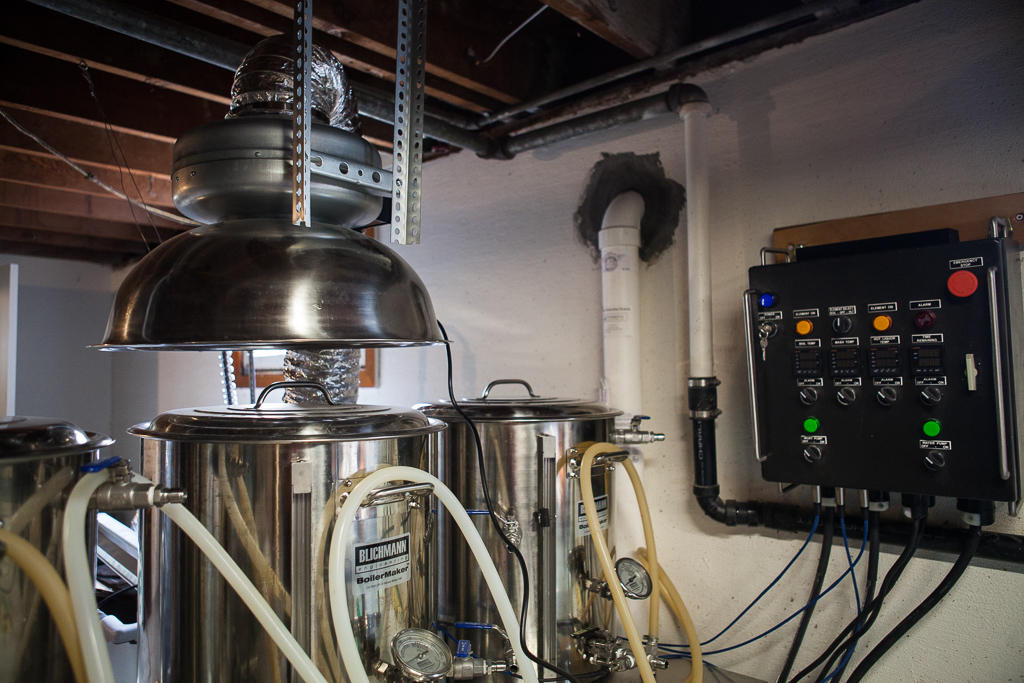
When I originally built the electric brewery, it was located at the back of the garage in front of a window. During boils I would open the window and point a small fan from above the kettle to move steam outside. In our new house, the brewery got moved out of the garage and into its own space in the basement. This meant I would need a new ventilation system.
The original Electric Brewery includes a section on building a vent hood. As with most of the rest of my build, I used this as a starting point for my design. I combined this with additional research from forums to settle on a final design. While I kept the original speed control design and exhaust fan selection, I deviated on the hood choice.
Kal’s original recommendation was to try and get a custom built stainless steel hood or commercial-style kitchen condensate hood to cover the dimensions of all three kettles. This can end up being an expensive way to go. Another problem I had was the ceiling height I had available in the basement. There might not be enough room to fit a large hood over the kettles. Finally, the basement in its current state is unfinished. At some point I’ll probably be finishing it, and making rearrangements to the brewery layout. Having a large fixed mounted hood installed could make future updates more difficult.
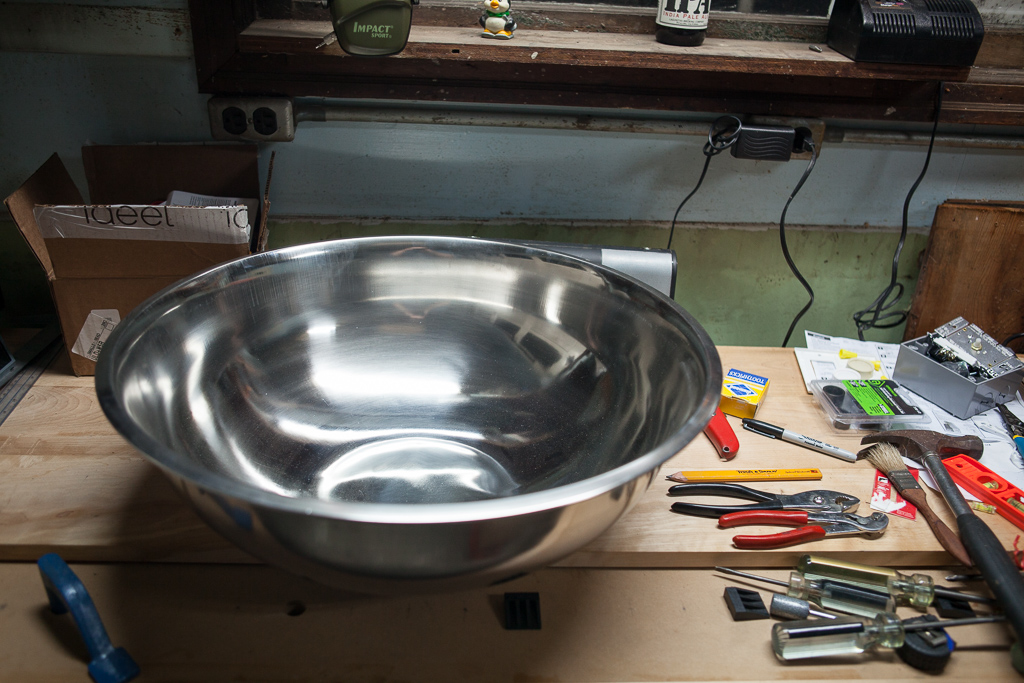
So what was my solution instead? I used a salad bowl. This had been documented by other forum users already and seemed to be working well for them. I took a trip over to one of my local commercial kitchen supply stores and bought the largest mixing bowl available. I believe it’s a 30 quart bowl. The opening is slightly larger than the kettle diameter and the flat bottom is large enough to comfortably fit a hole for the exhaust fan.
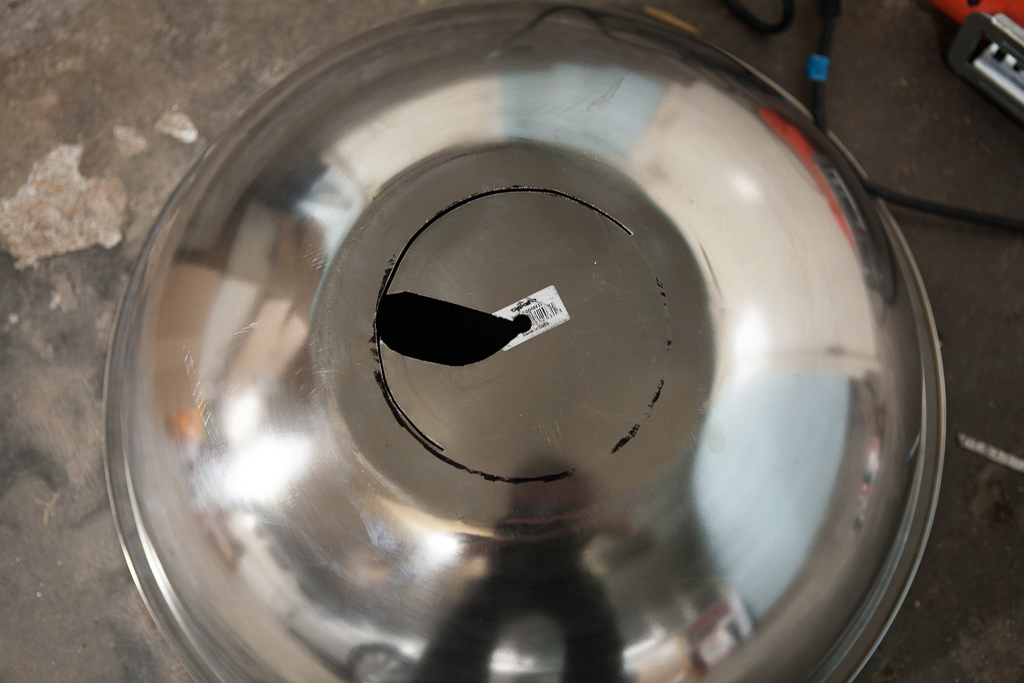
First I took a scrap piece of paper and traced an outline of the exhaust fan. Then I used this template to mark the area on the bowl that needed to be cut out. Next I drilled a pilot hole large enough to fit a jigsaw blade through. I could have used a Greenlee punch to make an even larger pilot hole at this point, but the drill hole I started with was already big enough. Using the jigsaw, I finished cutting out the hole.
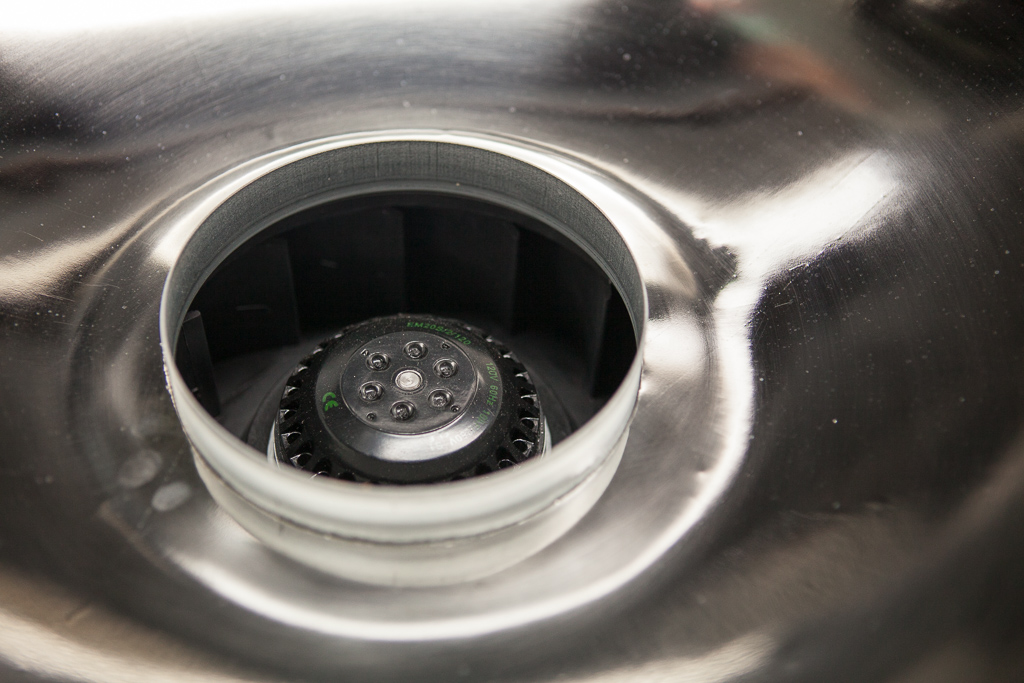
I now had ruined a perfectly good brand new mixing bowl. I now also had a dish that the exhaust fan tube fit snugly into. I mixed up some two part epoxy (the J.B. weld variety) and ran a bead on the outer edge of the new bowl hole where the wall of the fan touched when inserted. I also ran a bead of food grade silicone on the inside seam. Once everything had cured, it was ready to install.
For the installation, I picked up a 48″ section of angle bracket from the local hardware store. It was then cut in half and attached with screws into the ceiling rafters. The fan was secured to the brackets with nuts and bolts. Unfortunately, the fan isn’t really designed to be mounted like this. Since the brackets hang off one side, the weight is off balance. As a quick solution, I drilled a small hole in the lip of the bowl on the opposite side of the brackets. I ran a piece of heavy steel wire thru the hole and tied it off on an eye hook in another one of the rafters.
To complete the ventilation, I attached a section of flexible ducting with a large hose clamp to the end of the fan. For now, when I brew I can just open a nearby window and toss the end of the ducting out to vent. Later on, I’ll cut a hole through the wall and install a proper vent cap.
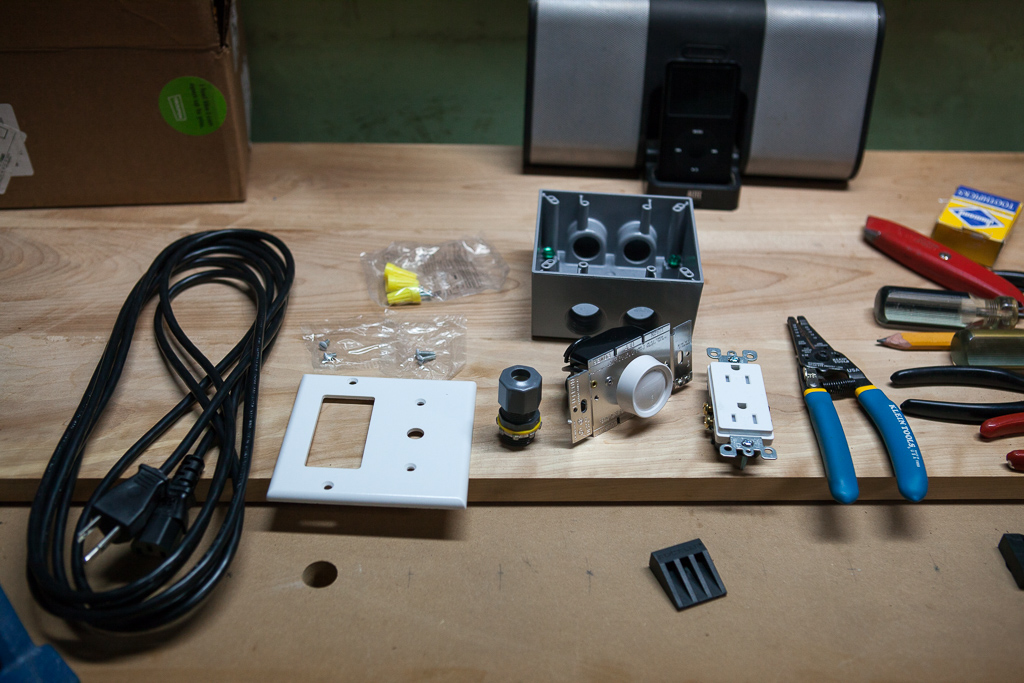
Parts List
- 6″ x 25′ Flexible Duct
- 6″ Heavy Duty Wall Cap
- 6″ Hole Saw
- 1/2″ Strain Relief Cord Connector
- 15A 125V Duplex Receptacle
- 15′ 18 AWG Universal Power Cord
- Rotary On/Off Fan Speed Control
- 6″ Inline Duct Fan
- Two Gang Weatherproof Outlet Box
- Two Gang Combination Switch Plate
