This is a simple jig that helps make straight cuts with a circular saw.
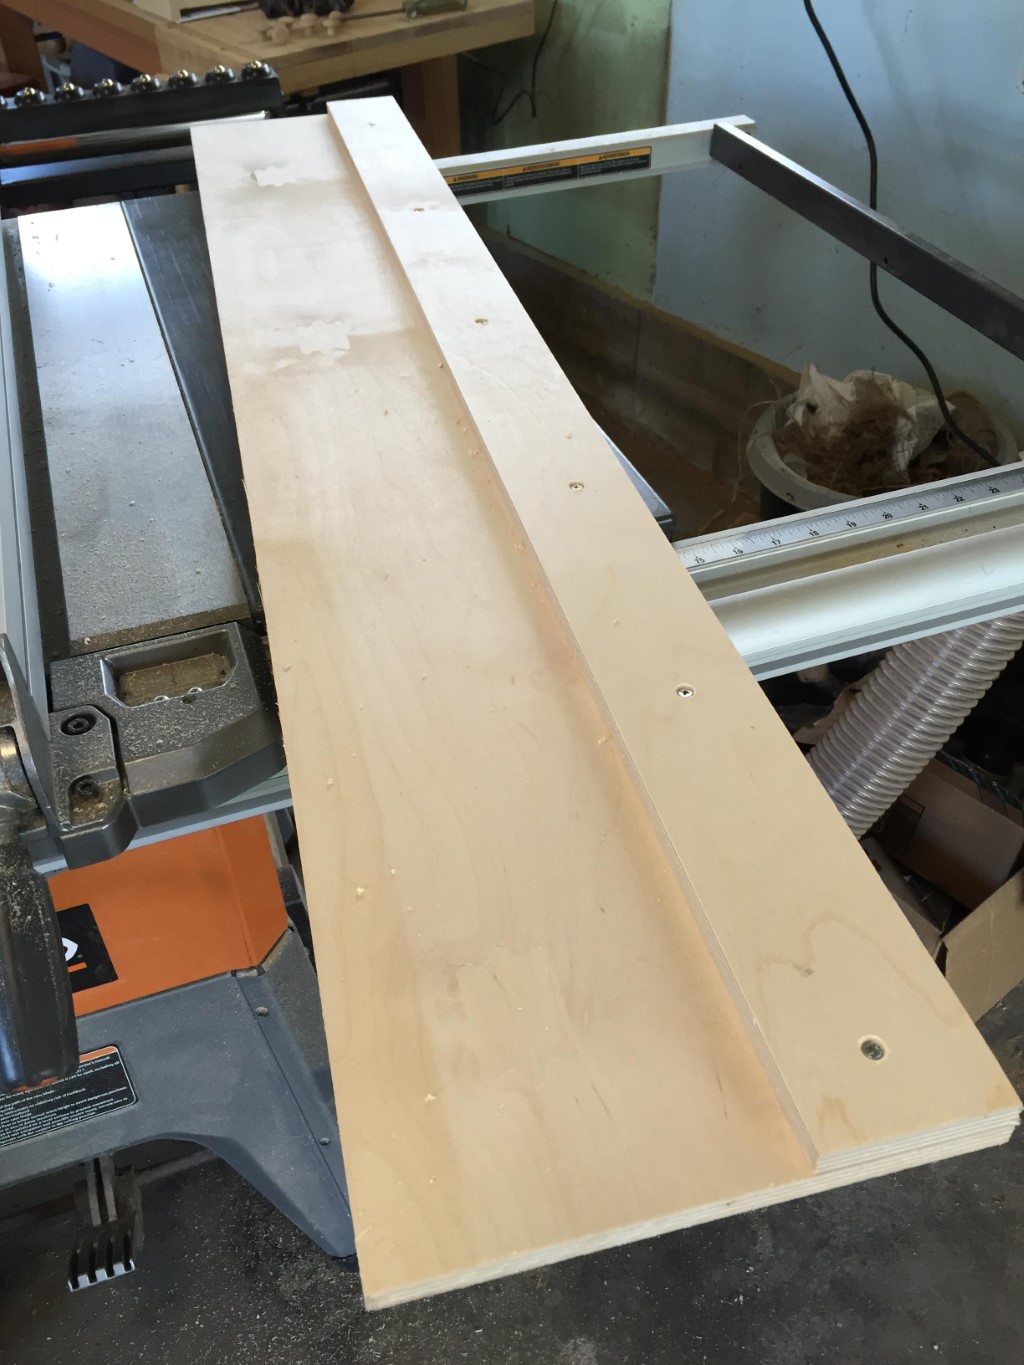
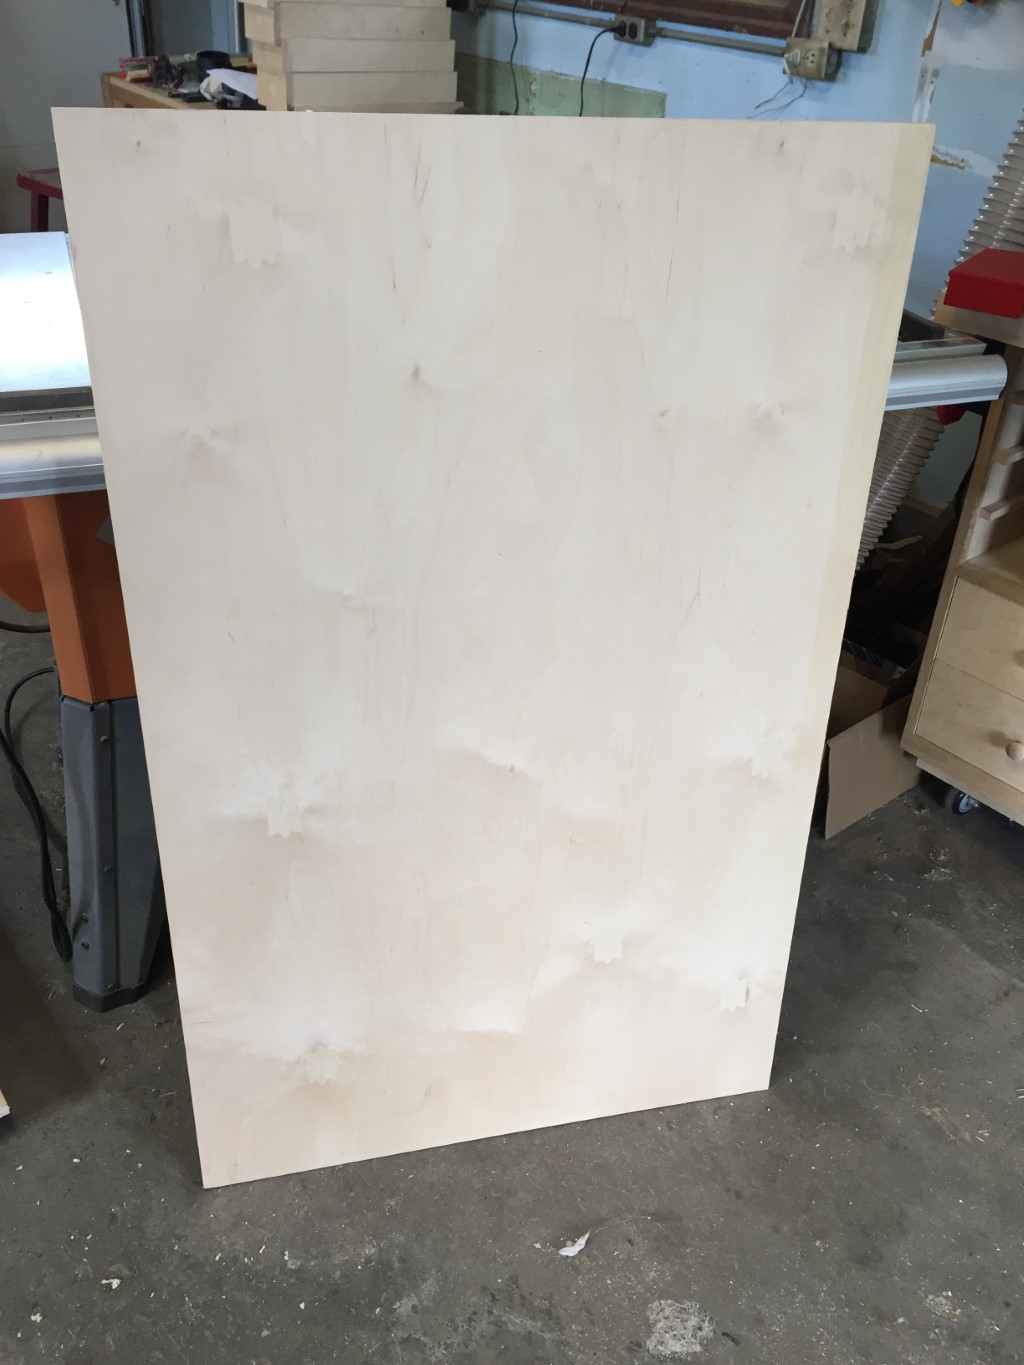 I started with a piece of scrap 1/2" plywood. This piece is 4’ long by something wide.
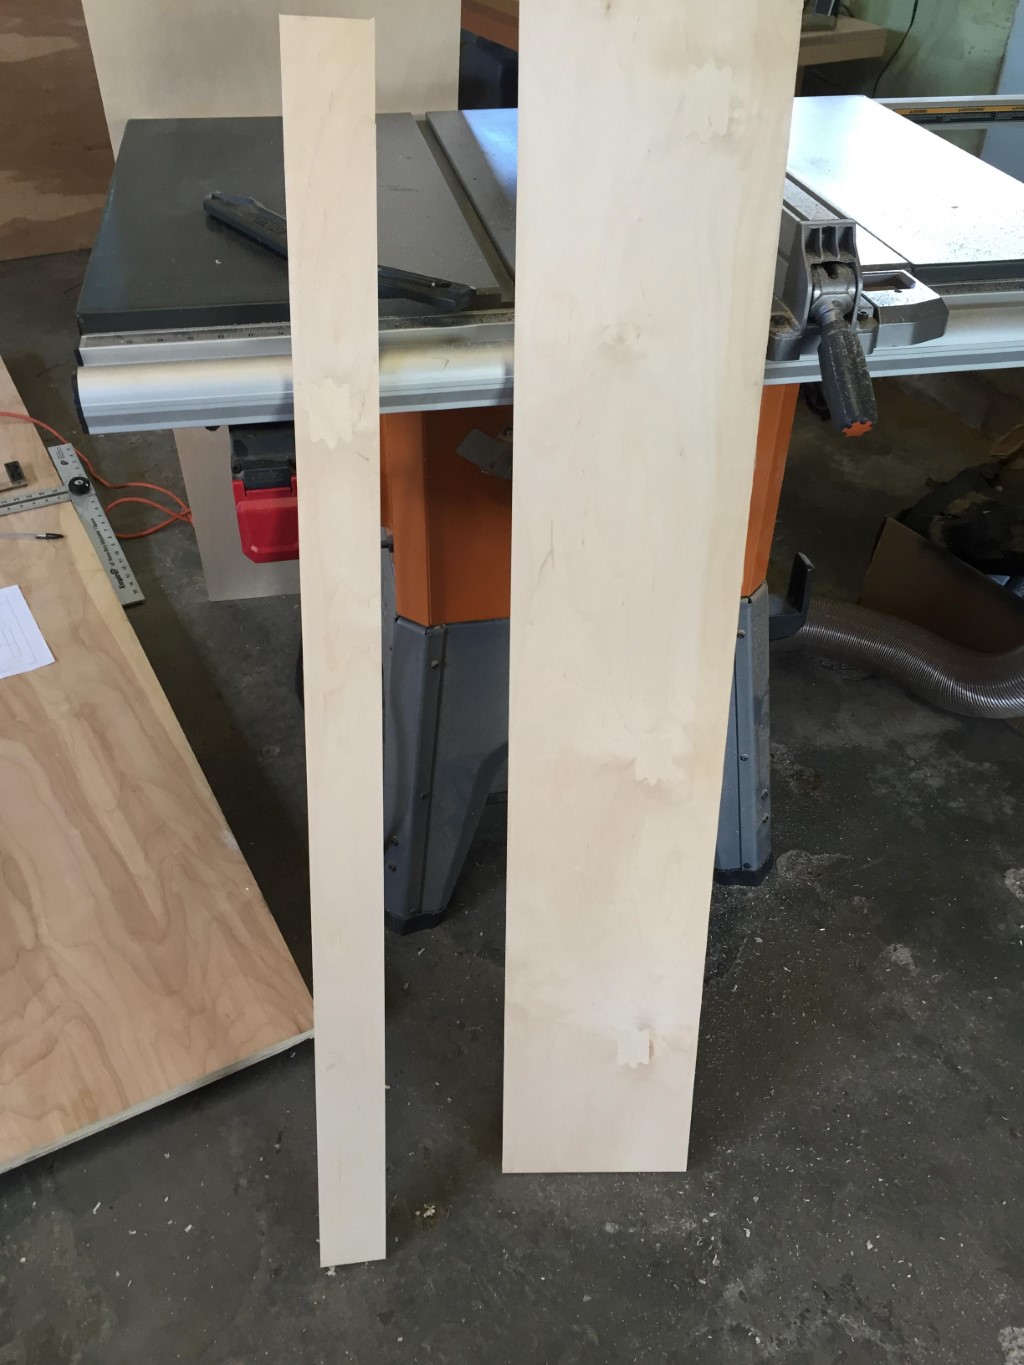 I cut two strips, one around 9" wide and the other about 3" wide.
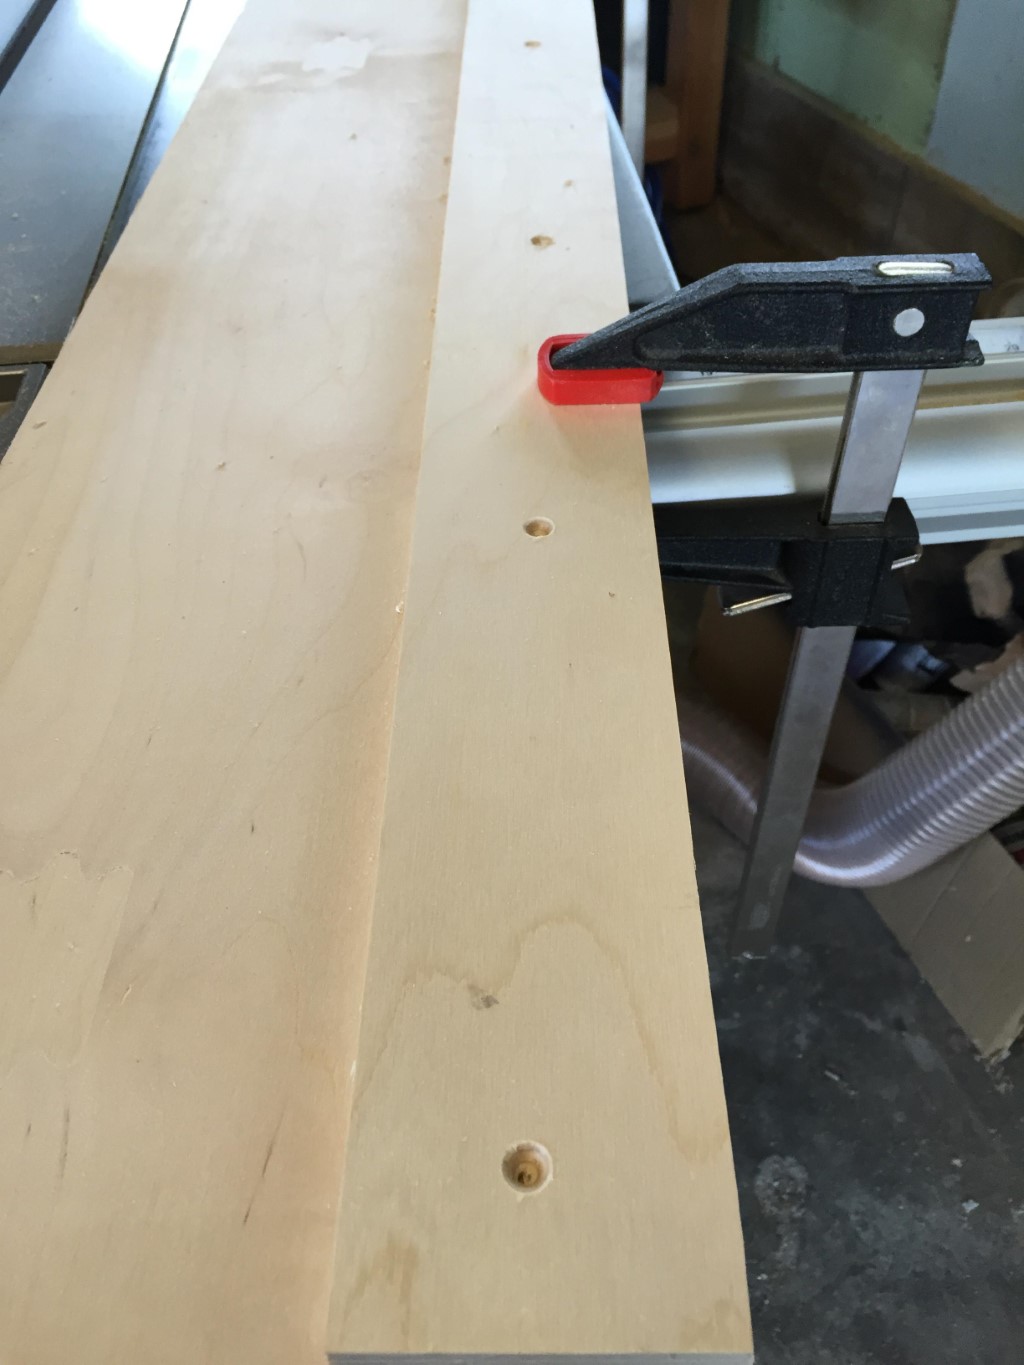
 I didn’t have a large selection to work with on hand. 5/8" spax screws were the best I could come up with of what I already had.
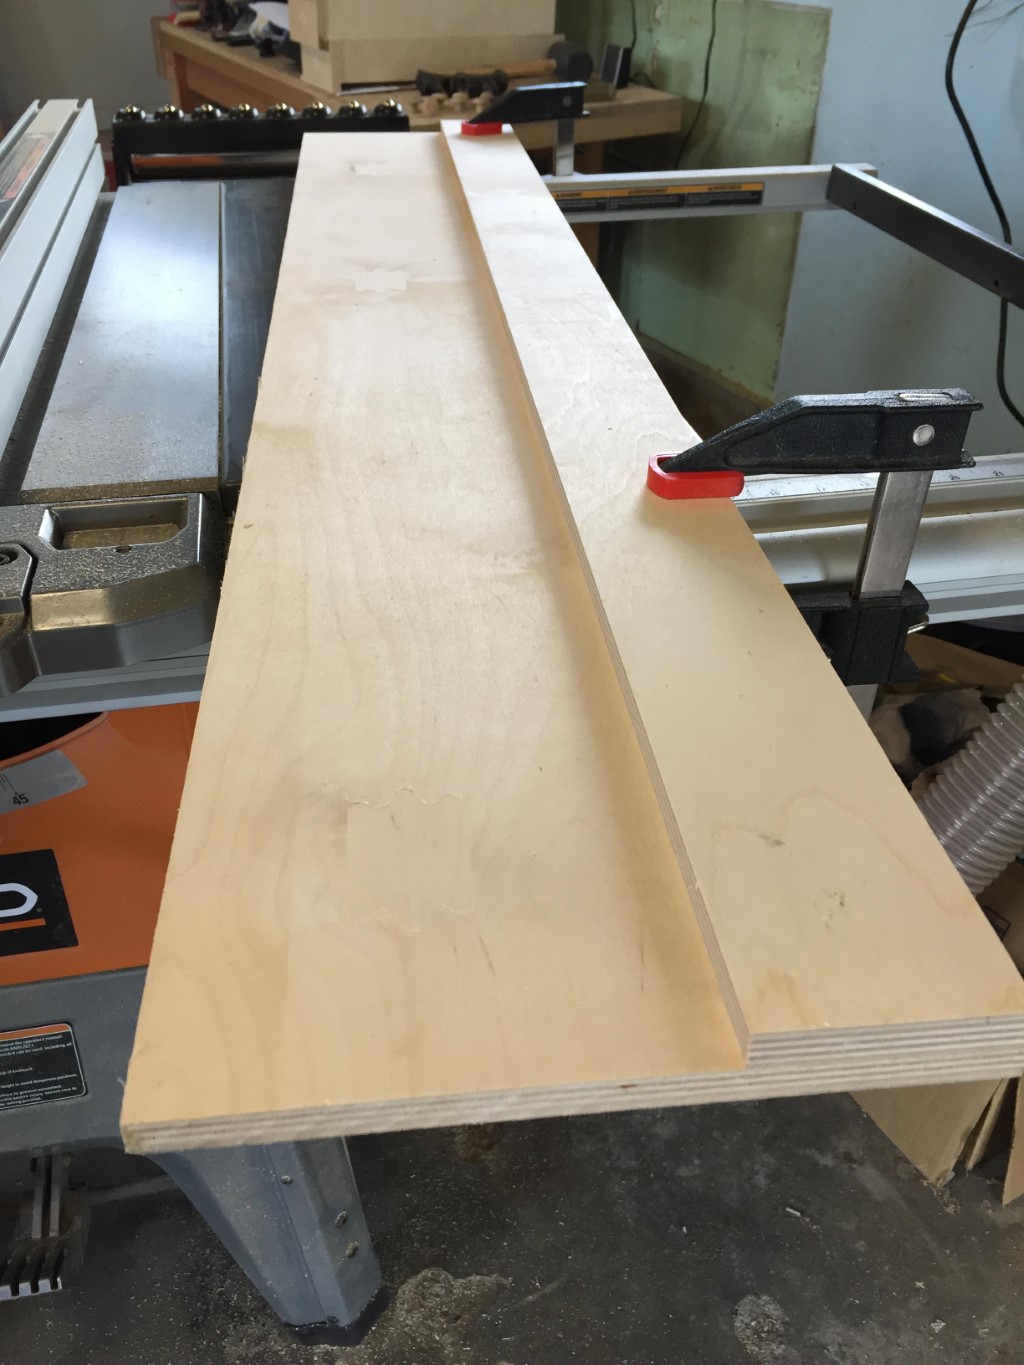
The circular saw rides on top of the larger piece and runs against the edge of the smaller strip.
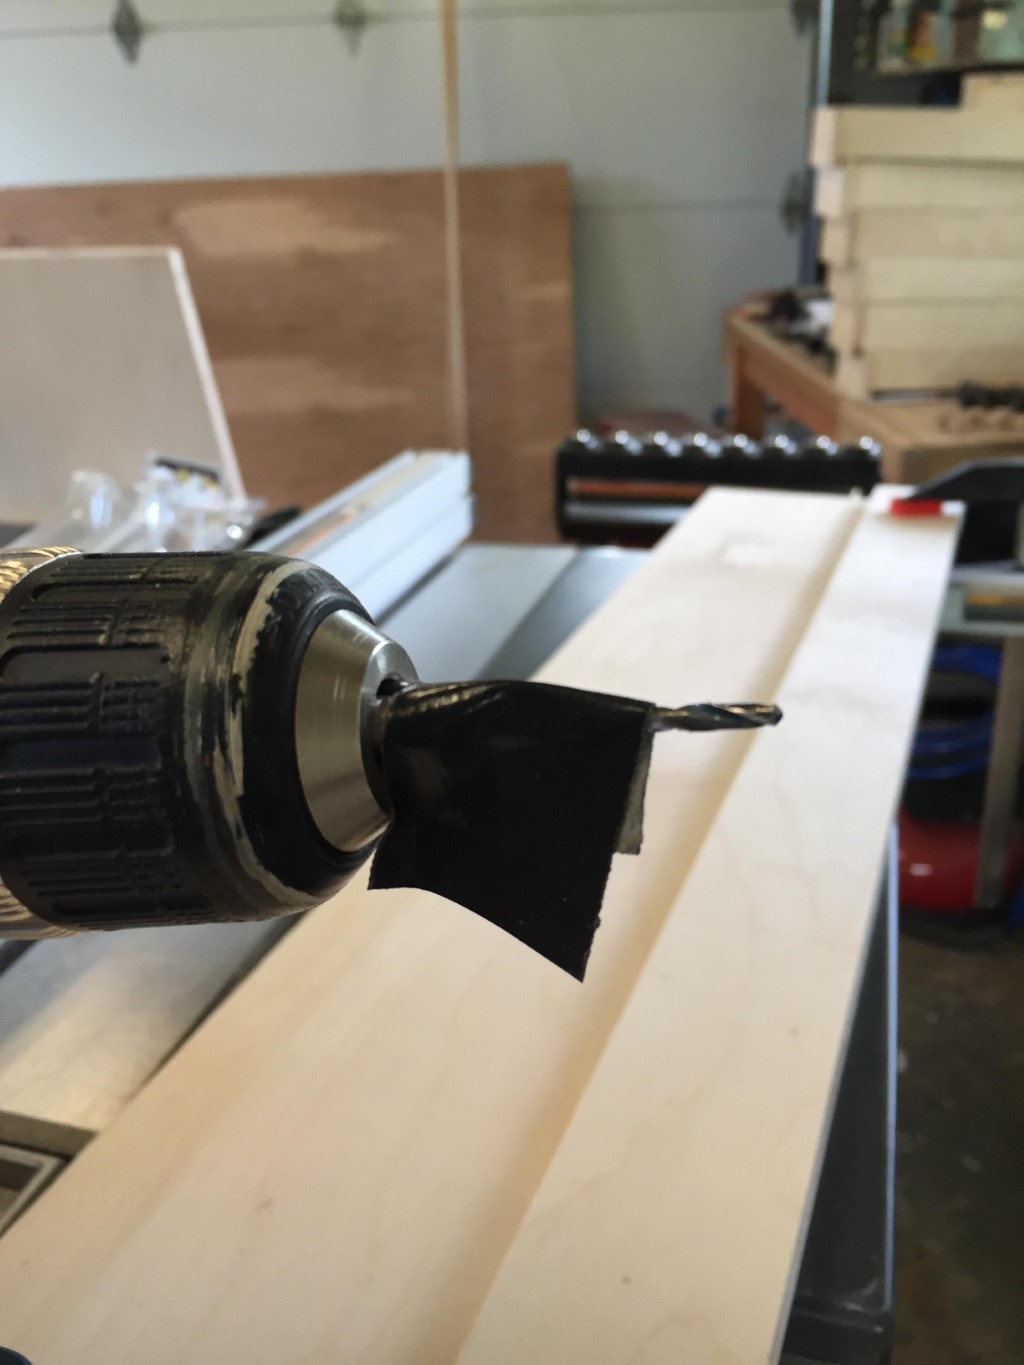
A piece of tape works as a depth guide when drilling pilot holes.
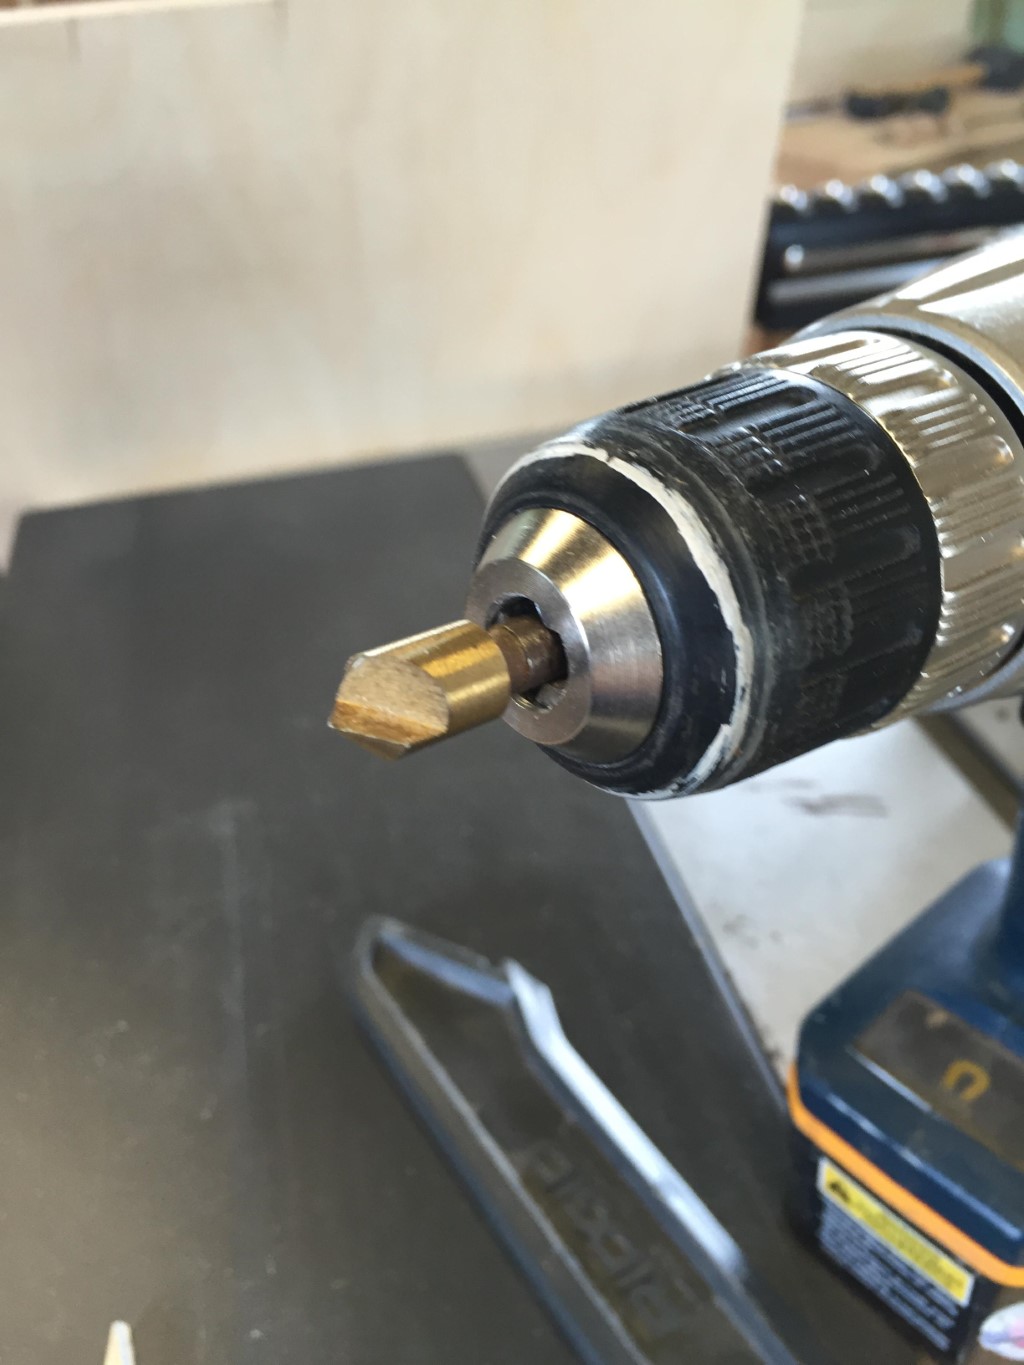
A countersink bit over the pilot holes get the screw heads out of the way and give the shorter screws a bit more depth.
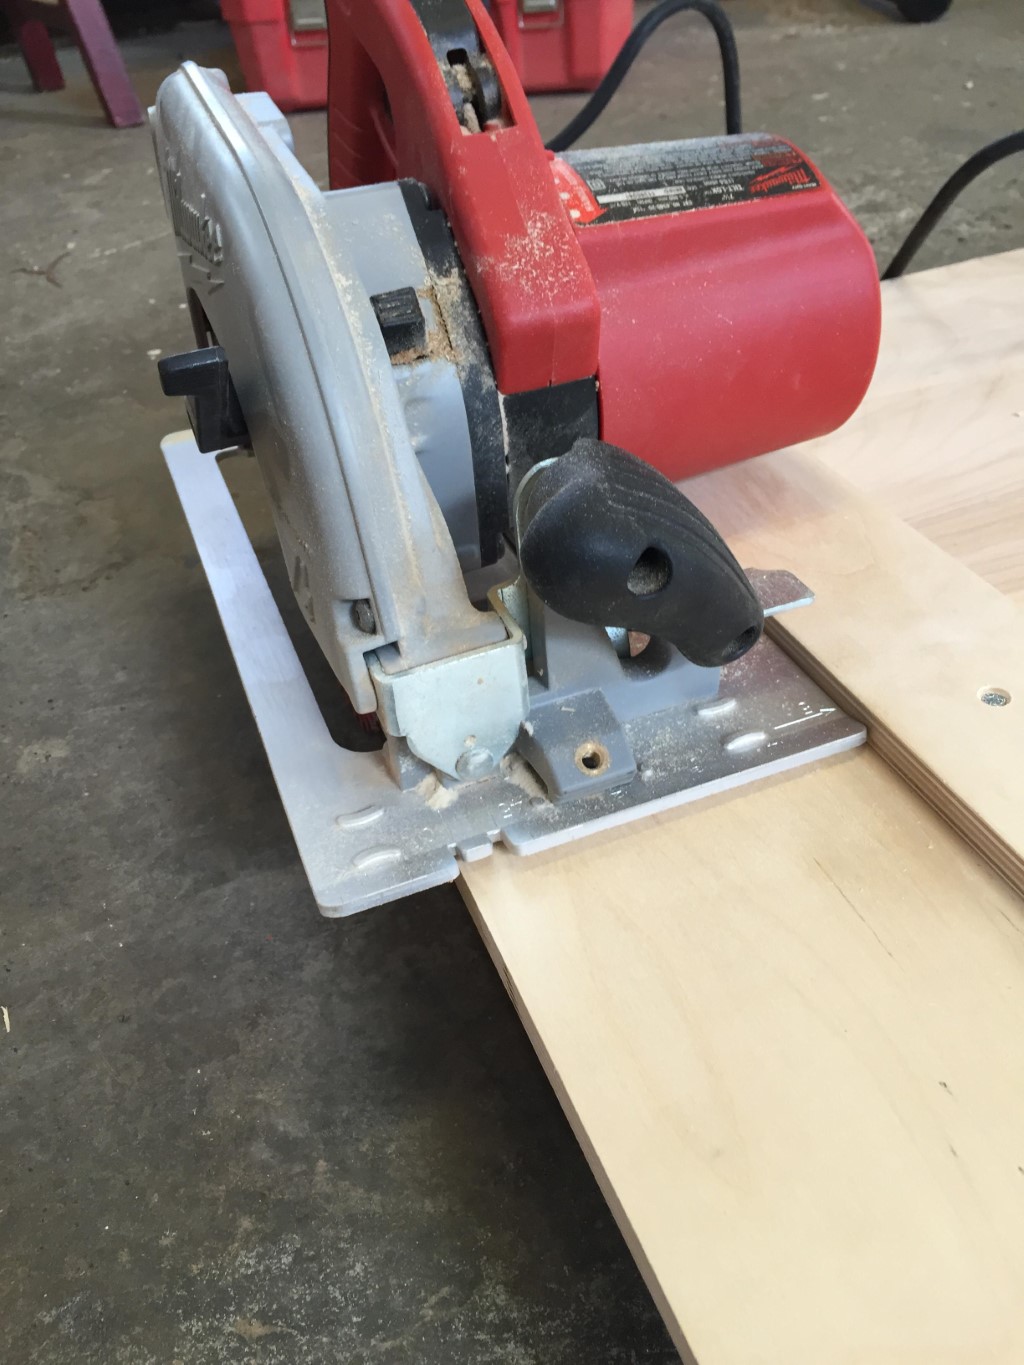
The bottom part should be cut wide. The base of my saw is marked 5" from the edge. My top rail is about 3" wide, so I cut the base about 9" wide. This leaves about 6" of material under the saw. Running the saw the first time trims the extra material away. The resulting edge matches the blade kerf exactly. Line the edge of the guide up on your cut line, and it will match perfectly every time.
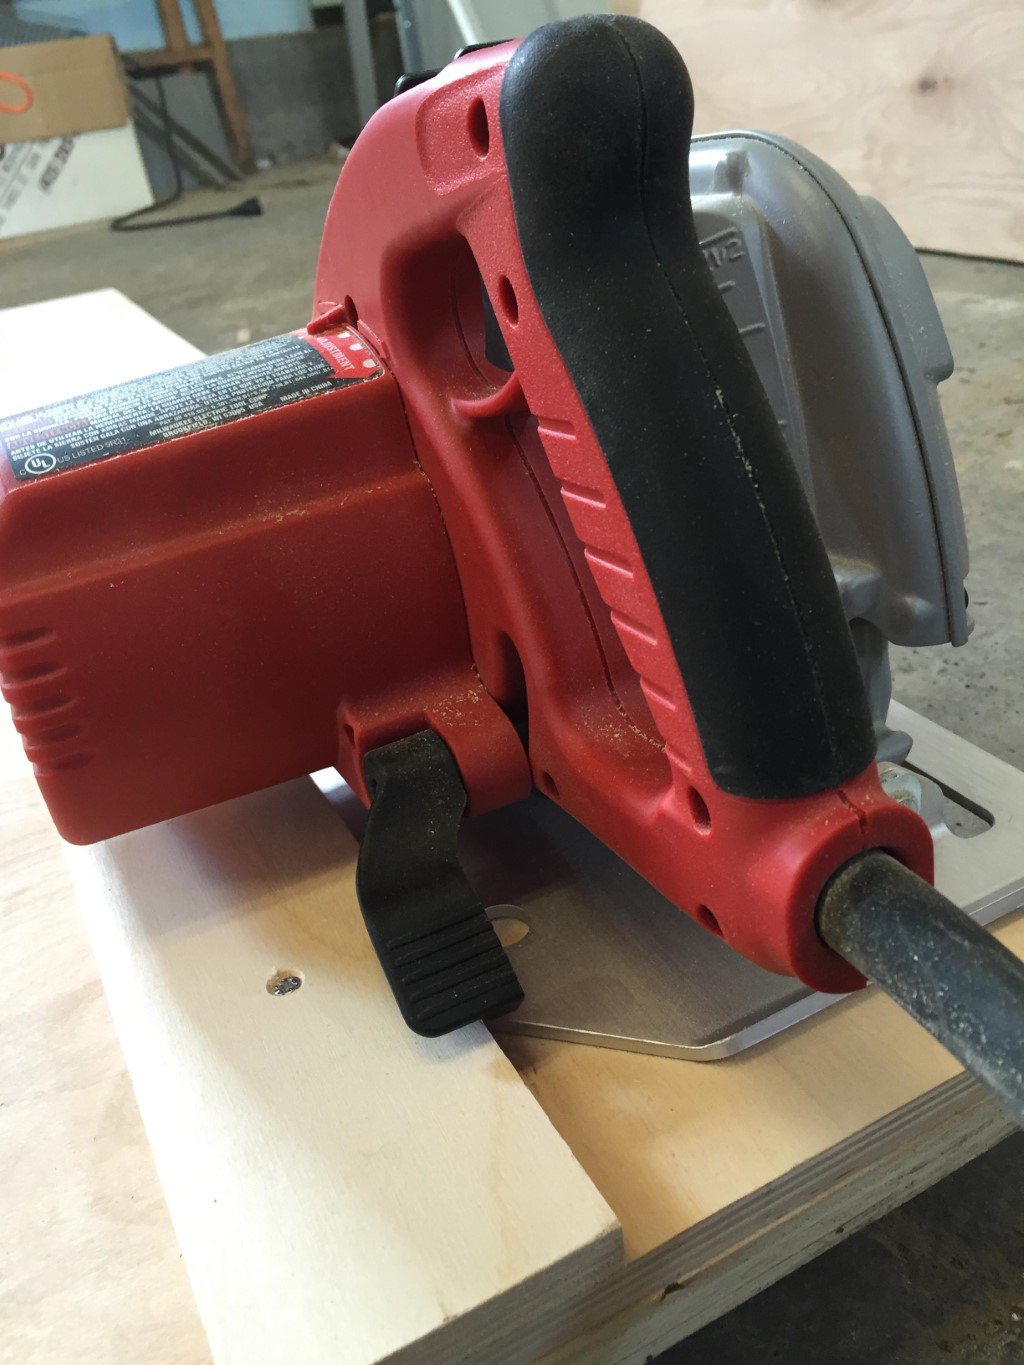
It might be necessary to raise the saw up a bit so that the motor clears the guide. This reduces the maximum possible depth of cut that can be done using the guide.
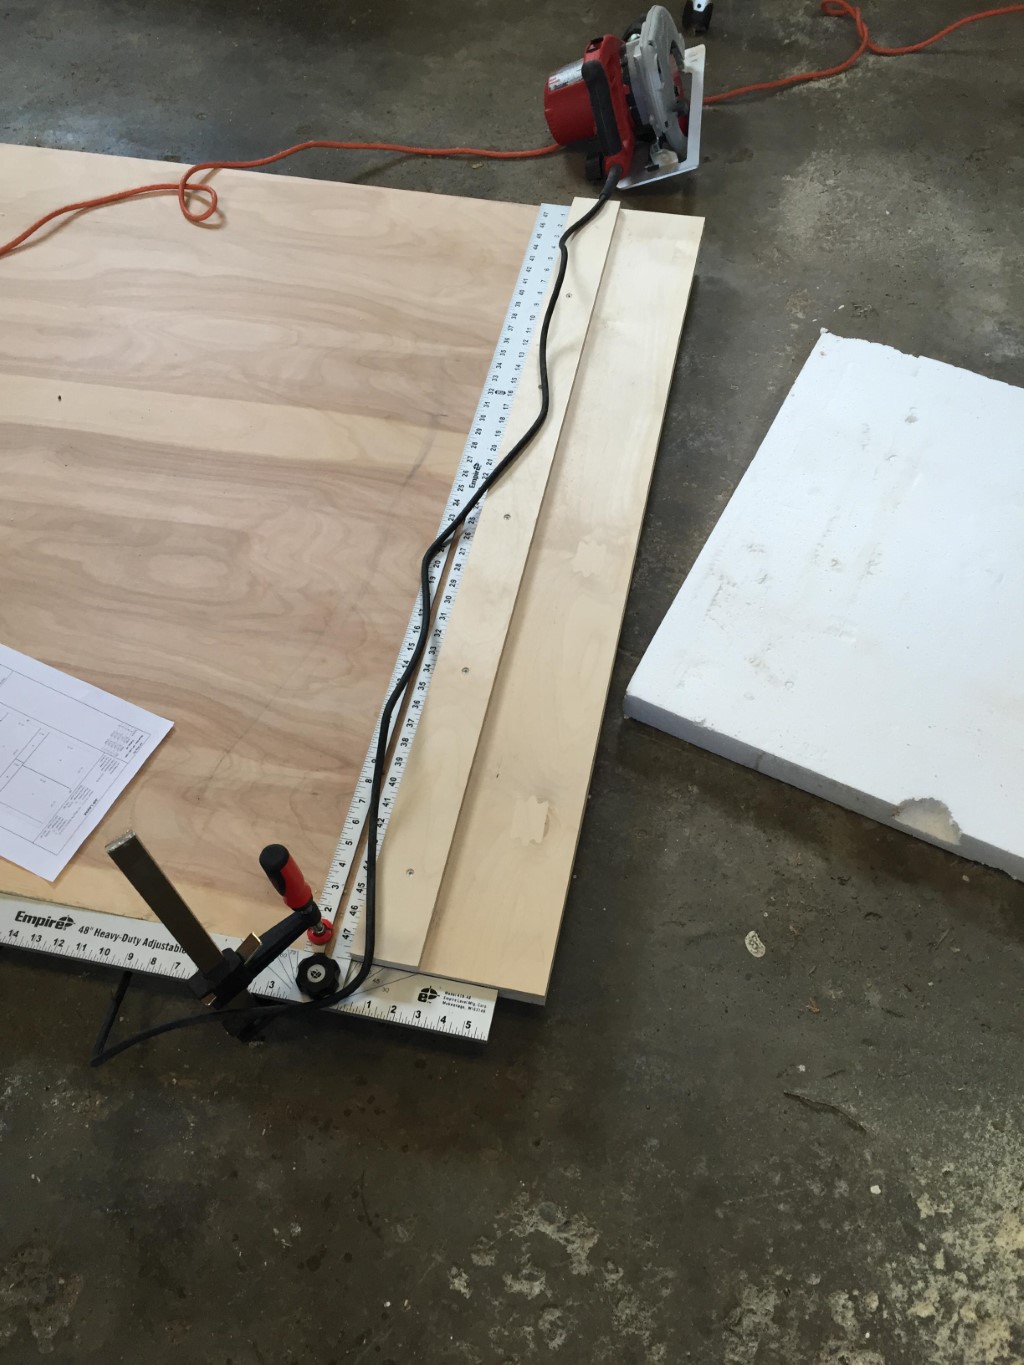
I clamped a T square as a stop for the guide. If you make your guide wide enough to clear the saw’s motor, you can clamp the guide directly instead.