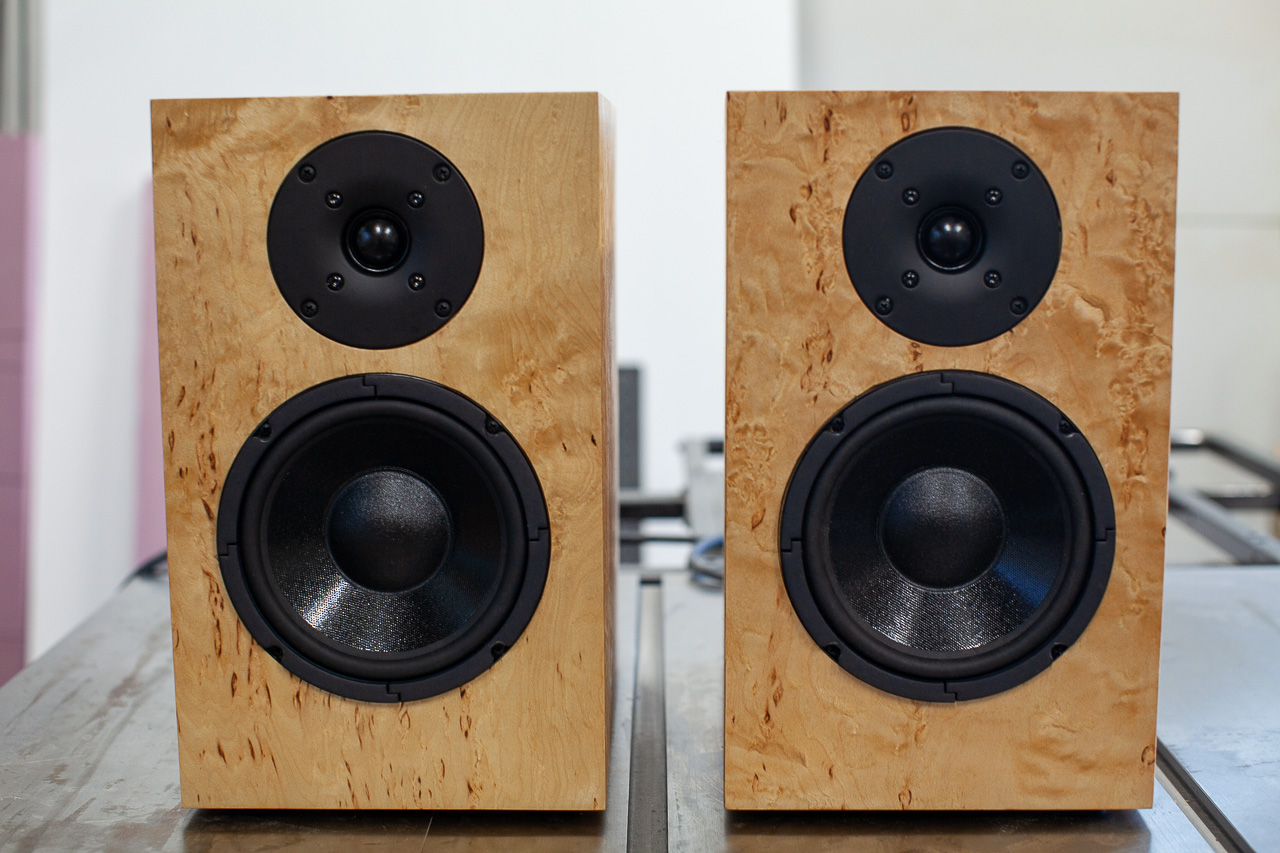
My rendition of Paul Carmody’s Classix II speaker design in Karelian Birch burl veneer.
Overview
The goal of this project was to build a new pair of speakers for my home office. My criteria were a bookshelf speaker design with a mid-price point - something hopefully falling in between the C-Notes and Micro Statements I’d done previously. They needed to be a step up from the 15 year old pair of Klipsh Quintet III speakers that they would be replacing. They should both work well for near field listening in a small room and still be able to create a robust sound stage. Lastly, I didn’t want to repeat myself and re-use any of the designs I’d already built before.
After a little bit of research and a whole lot more hemming and hawing I finally settled on Paul Carmody’s Classix II design.
Acquisitions
Rather than going the route of assembling a crossover component list and putting in a detailed Parts Express type of order I opted to order an available kit containing all of the components. At the time, Meniscus Audio offered a full kit including everything needed for the build except for the materials for the enclosures themselves. It included speakers, crossover components, wiring, foam, port, and other assorted parts. The instructions came with lots of helpful advice and instruction along with adhesive-backed paper templates for the suggested crossover component layouts. The whole set of pages were all carefully secured in a clear plastic protective cover - the kind I would have used to turn in a school report oh so many moons ago. Everything arrived well packaged in an apparently very thoughtful manner, but with the quirk of personality that their slogan “Just add Solder and Sawdust” suggested. Sadly, only a few months after I ordered this kit, they announced that they would be closing their business and retiring. I’m happy I was able to be delighted by their product when I had the opportunity.
Construction
With the design and kit squared away, the next set of decisions were box material and finish. For the first, I’d use 3/4" MDF - a pair of 2’x4’ panels from Home Depot with more potato chipping that I would have ever liked. Joinery would be quick and dirty butt joints. As long as the bottom is flat enough for the speaker to sit properly, having the boxes be entirely dimensionally square and flat wasn’t mission critical. Instead, I wanted to see how playing process a little more fast and loose would work out (Spoiler: it worked fine, but there are reasons I’d do it diferently next time).
Finish
Lastly, the finish. Generally, I was considering one of the two options of paint or veneer. The last speakers I’d built were all painted. Getting a really good painted finish on MDF is a bit of a chore. The set before that I’d done part veneer and part painted. That was also my first experience working with raw wood veneer and I wasn’t very happy with the way that it came out. I thought that this could be a good opportunity to try and improve my skill with veneering. I picked out two sheets of raw wood Karelian Birch Burl veneer from Joe’s Veneer Supplies. On my way to the checkout I also added a couple sizes of their vacuum bags to my arsenal. This would be the critical key to my success with getting smooth veneer application this time compared to the wavy results of my first experience. It was finally wrapped up with two coats of Rubio Monocoat.
Final Thoughts
These speakers live up to everything I wanted out of them as an upgrade to the Klipsh. However, there are probably a few things I’d do differently if I did it again. Their footprint is fairly large - I didn’t really realize how big they would be when actually sitting on the desk. I probably would have looked for a smaller design instead. I would have taken the extra time to use rabbets for the joinery. Getting a good square glue up with flush edges would have been much easier and required less sanding to fix later on. There were also issues with the box in the vacuum bag where the clamping force caused some cracking sounds like glue joints starting to fail. Rabbets and possibly extra internal bracing could have helped counteract that problem. Bracing is suggested in the design, but I ended up completely forgetting about it until too late and not having any. I would also try to veneer as many individual panels prior to assembly as possible. It is a lot more challenging trying to vacuum press an entire speaker box in a giant 4’x4’ bag. That large bag was also a challenge for my cheap vacuum pump to handle. The next time I plan to do any extent of veneer application, I’ll definitely be looking at a pump upgrade.
Gallery
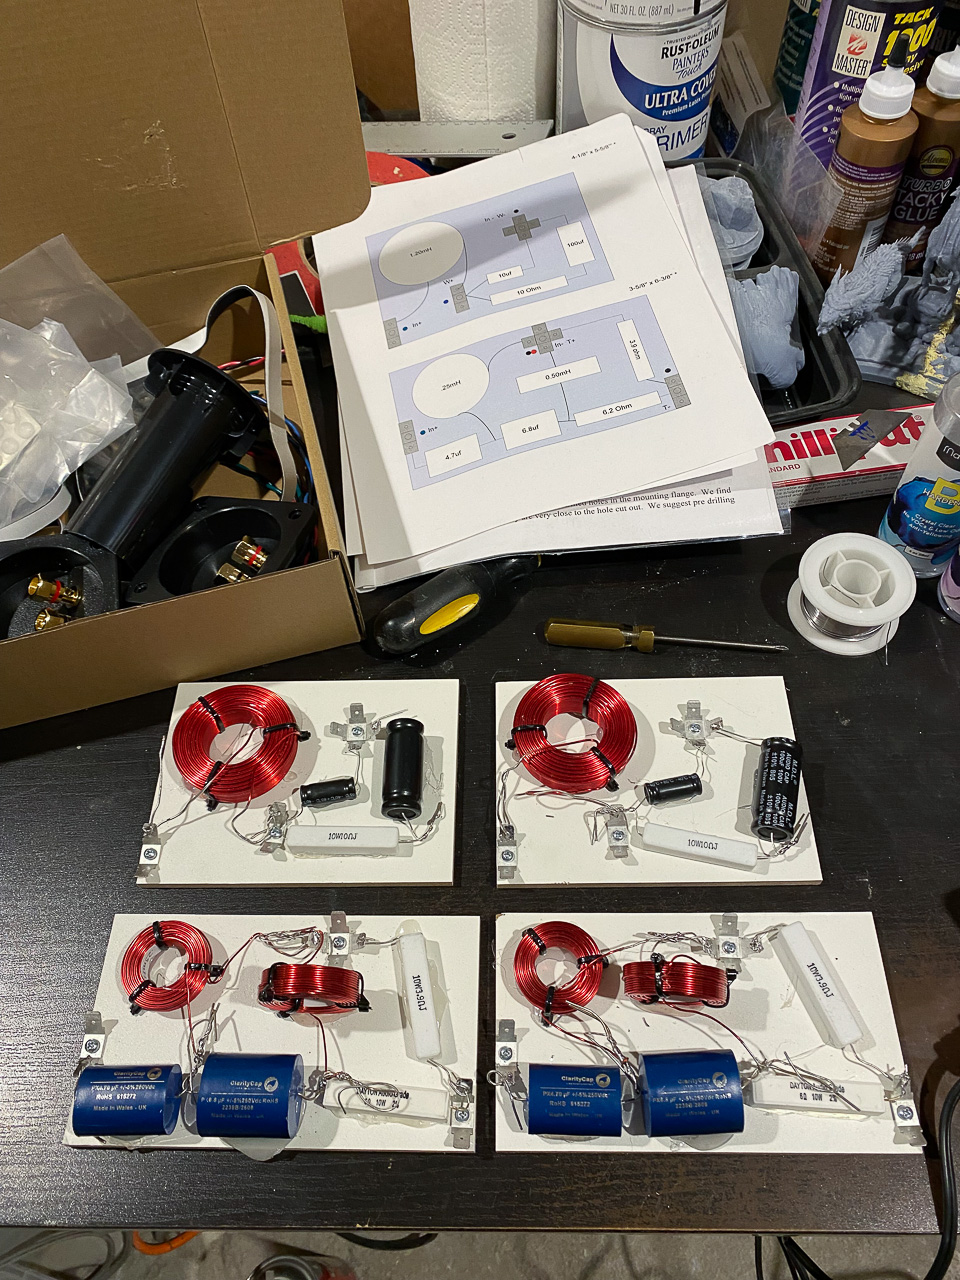
Two sets of crossovers, components arranged according to the layout template, soldered and mounted to the board with hot glue. The kit also included spade tabs to make hooking up input/output wires extra convenient.
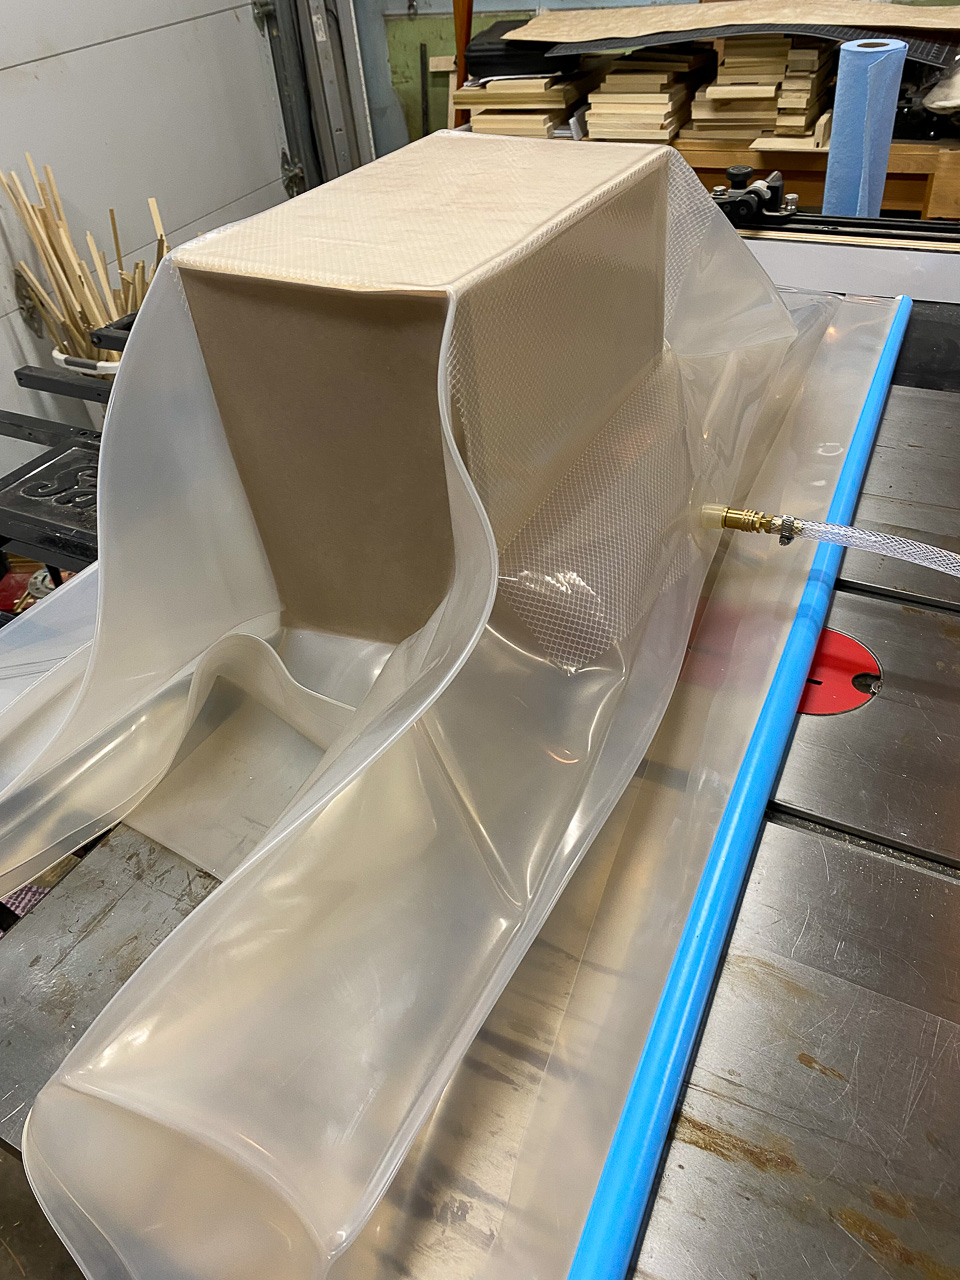
A smaller 2’ x 2’ bag worked for flattening individual veneer sheets, but it took a larger 4’ x 4’ vacuum bag to fit a whole box into it without becoming too much trouble.
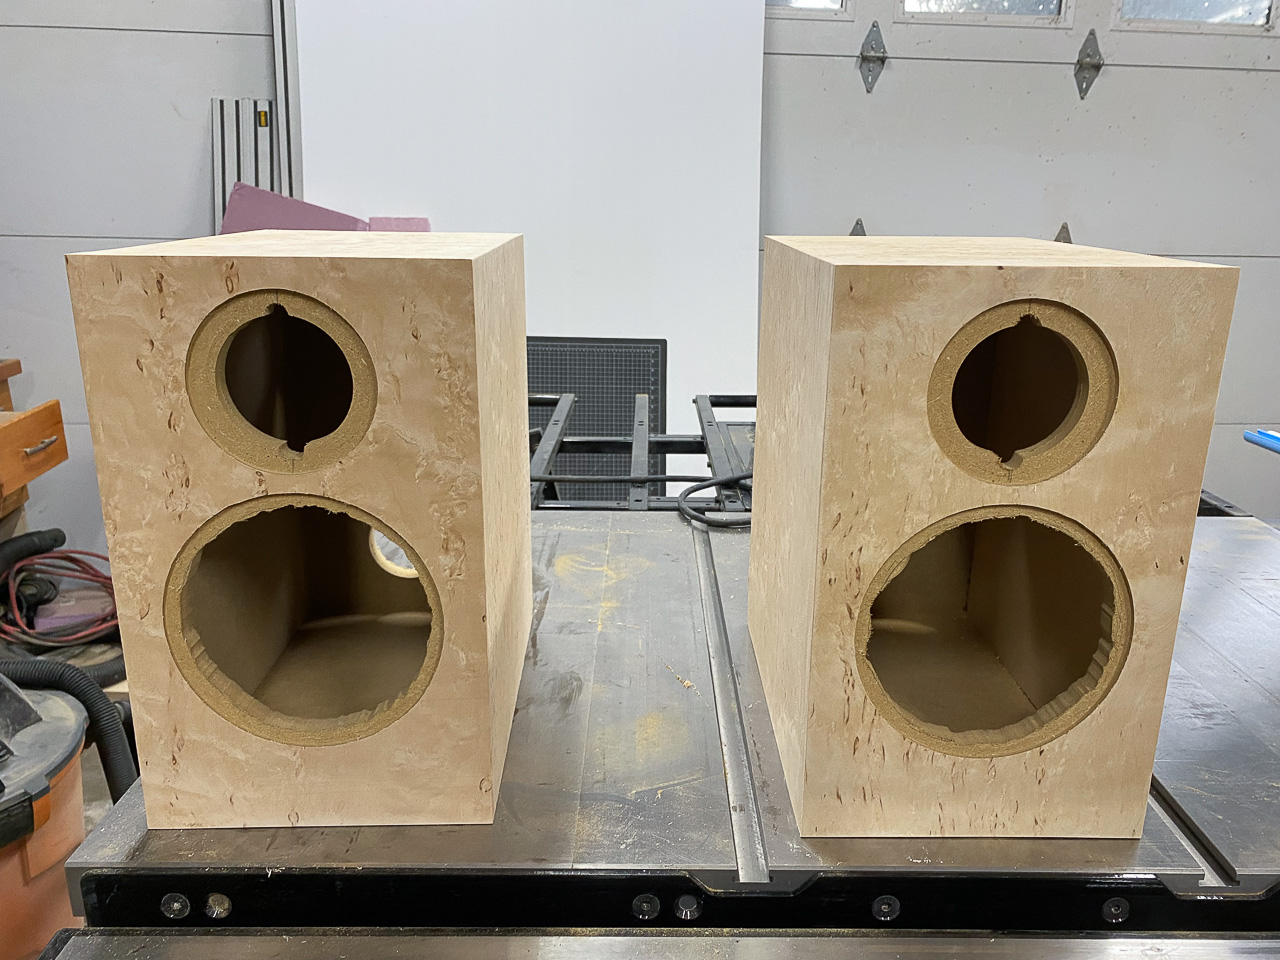
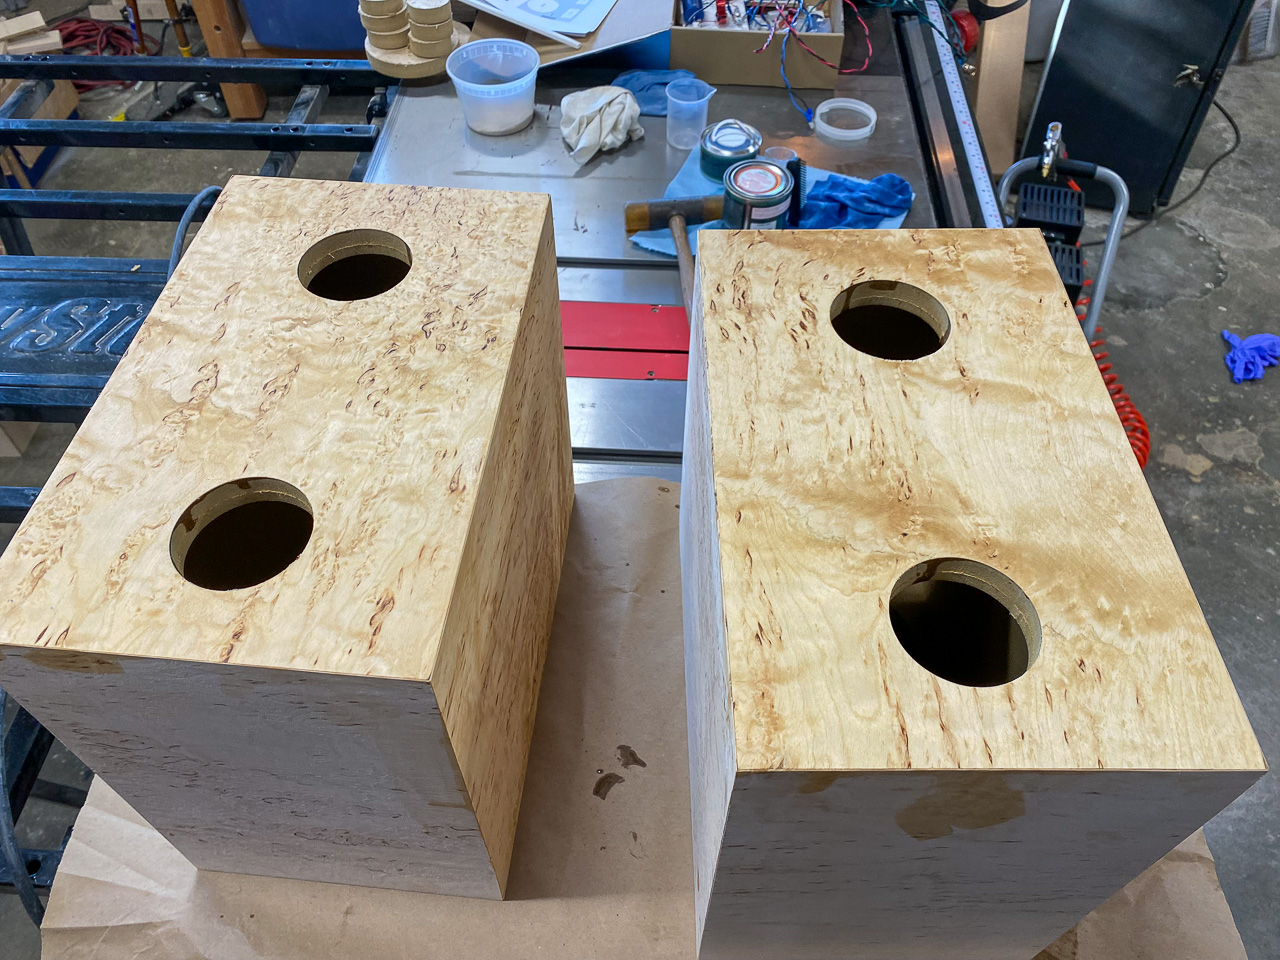
Front speaker holes and recesses have been cut. I’ve made templates for cutting these in the past, but I didn’t use a template this time. In the first pass, a plunge router with a circle jig cuts the outer profile to the recess depth. A second pass cuts the smaller hole all of the way through. Another pass cleans up any recess that didn’t get removed from the first two passes. Finally, a bit of freehand routing to add notches and adjust hole sizing for speaker fit. These recessed edges are completely hidden underneath the speakers, so as long as the speakers fit they don’t need to be perfect cuts.
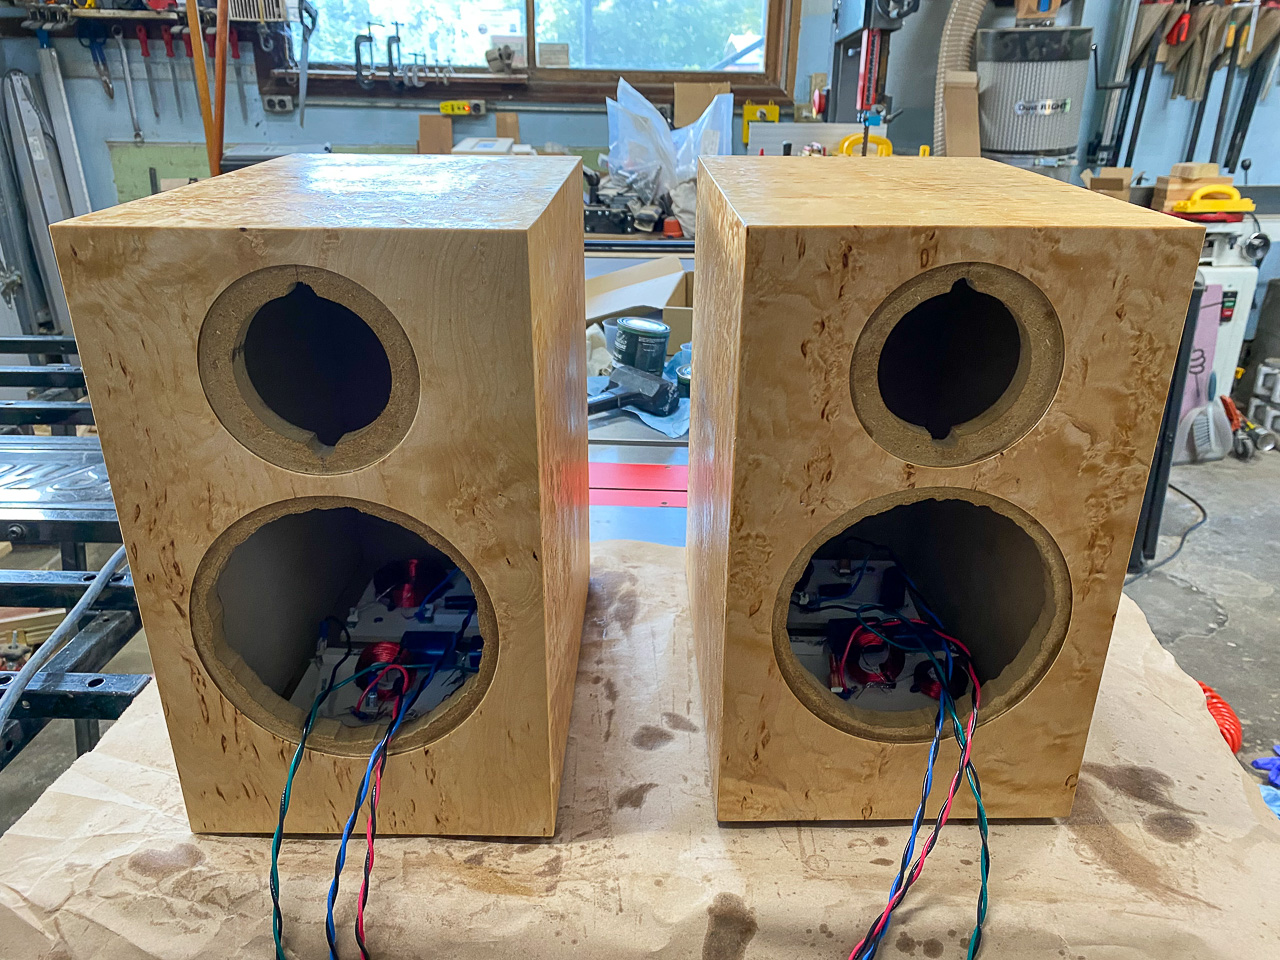
The rear holes for the port and terminal cup are simple operations, no extra recesses or notching required for the fit. Also, the first application of finish is going on at this point.
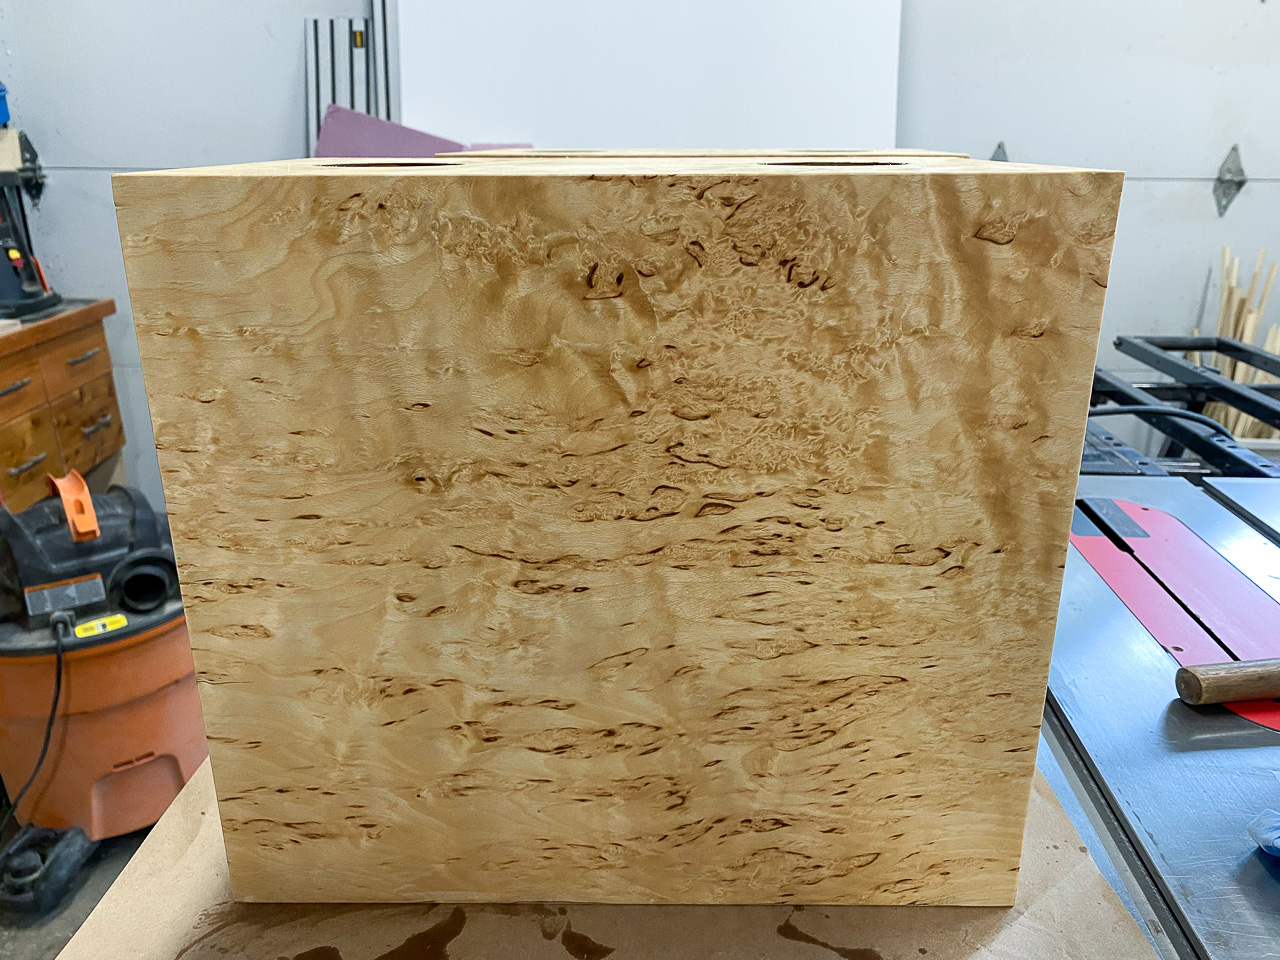
One side with finish applied showing off the Birch burl.
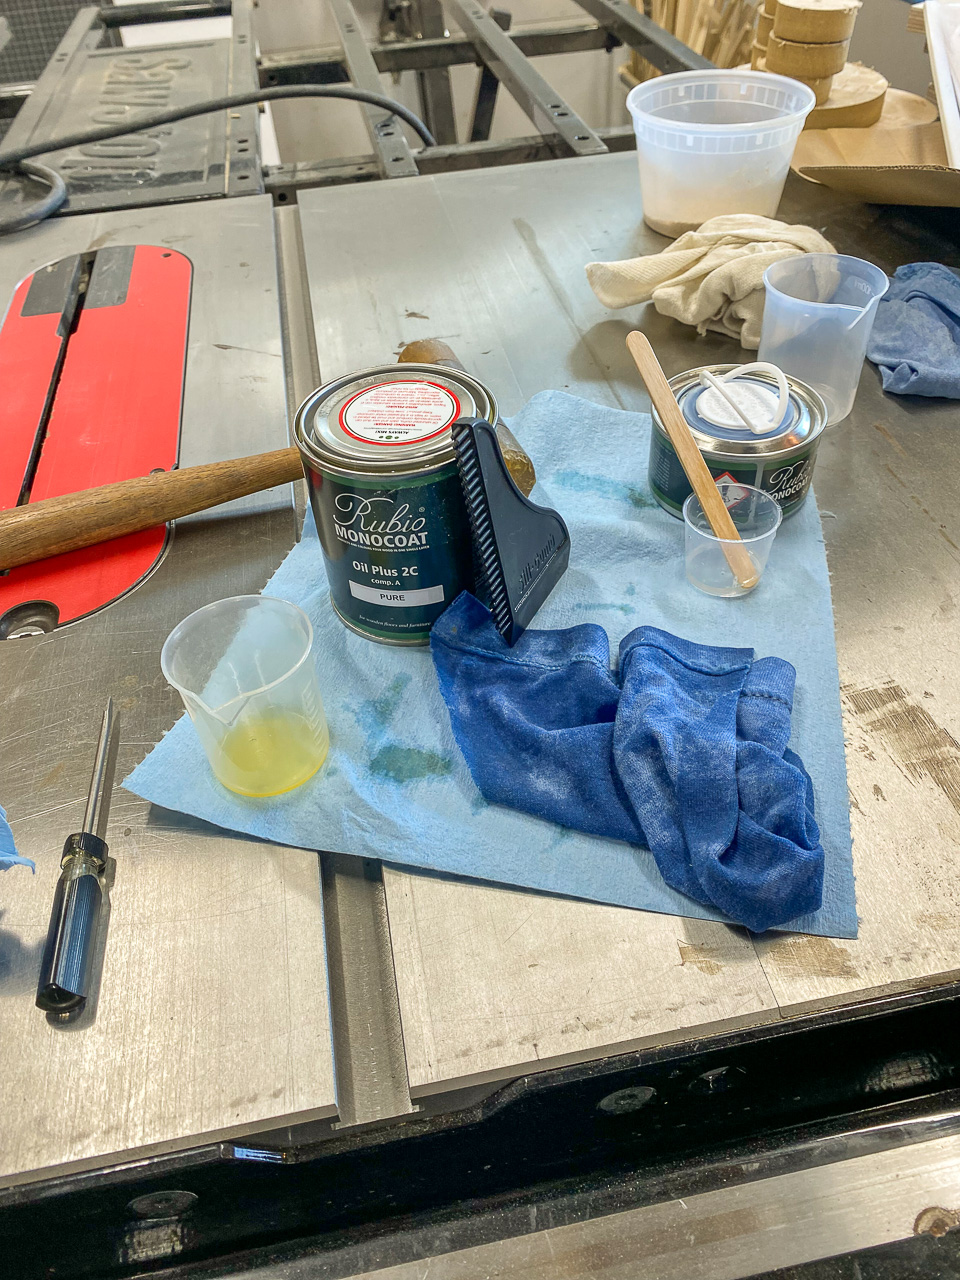
In between applications of Rubio Monocoat. This is a two part wax with hardener finish that is easy to apply, cures in a reasonable time, and is has no VoC. I applied two coats with a light high grit sanding in between to knock down any fibers raised from the first coat.
Crossover boards are mounted to the bottom. All that remains is stuffing the boxes with pyramid foam and hooking up the speakers.
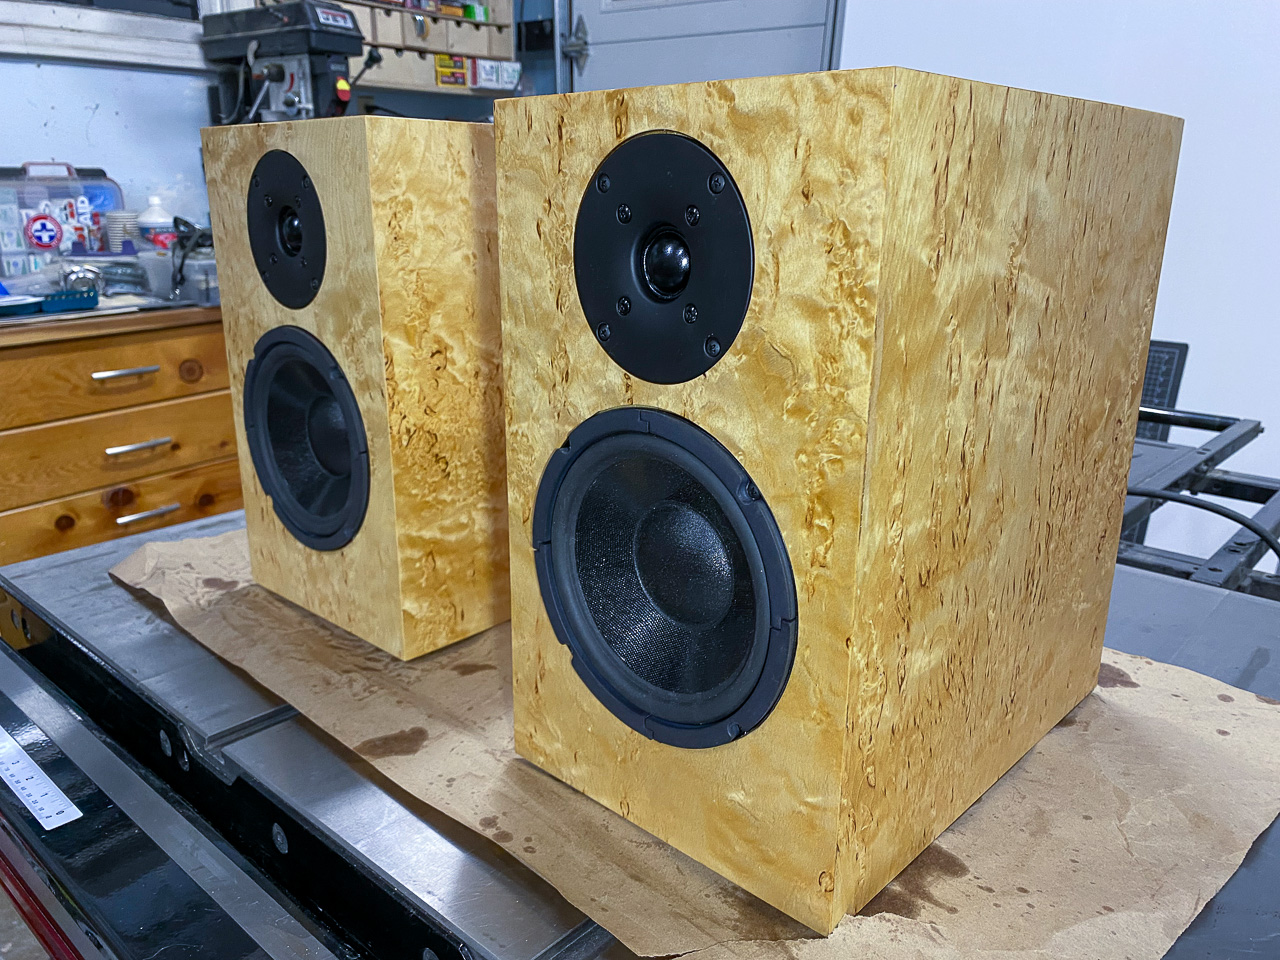
Finished and ready to rock.
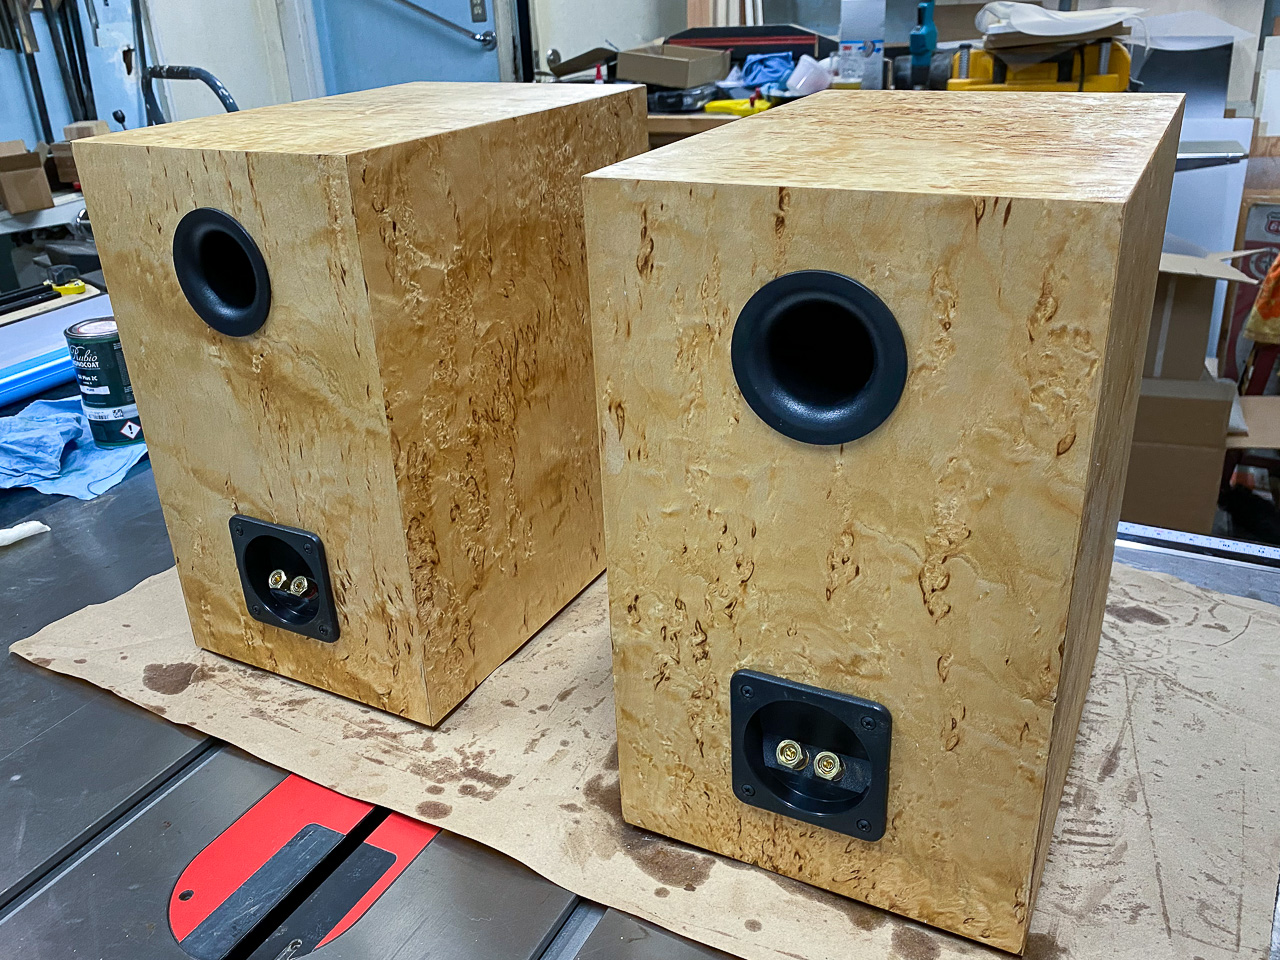
Finished back side with port and terminal cup installed. the port is just secured with CA glue.