
This build is a DIY clone of the Diezel VH4 guitar pedal.
The original Diezel VH4 is a 4channel tube amp head most famously used by metal artists including Tool, Metallica, Korn, and others in creating their signature tones. The pedal version of the VH4 was later designed to reproduce this amp’s third channel. Also known as the “Mega” channel, this is the channel responsible for the all of the heavy distortion tones. This Valhalla distortion pedal is a DIY clone of that pedal.
The signature VH4 pedal weighs in with a price point of around $250 while the original amp head rings up to the tune of $4500. While I love collecting pedals and tinkering with different signal chains to create interesting guitar tones, I don’t actively practice enough to justify adding the original VH4 pedal to my board (and forget about the original amp head). However, this DIY clone can be assembled for around $50-$60 in parts and all of the tinkering I already know and love. Though, since this was my very first build, it did require some additional upstart purchases to get going.
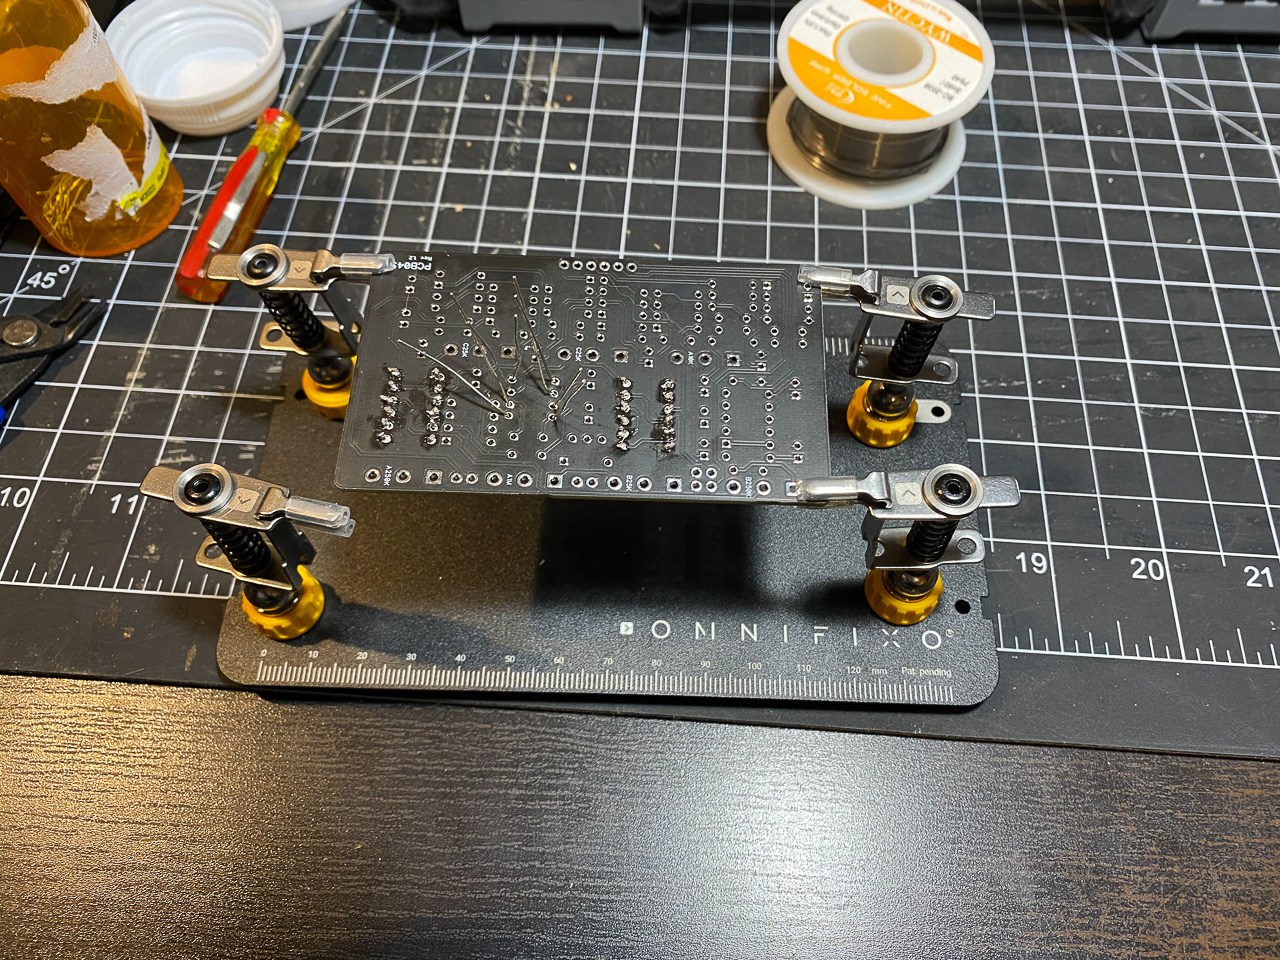
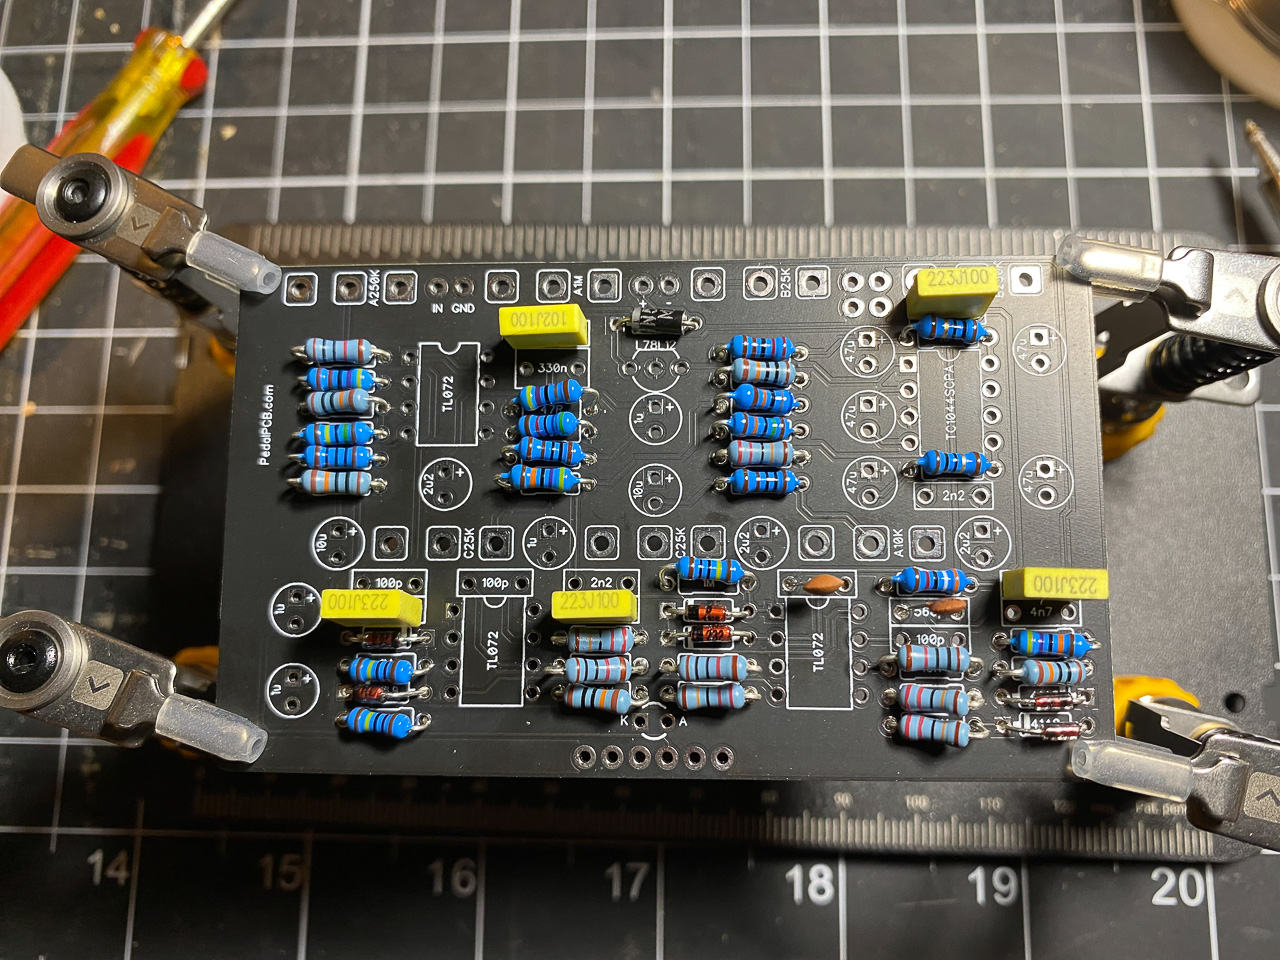
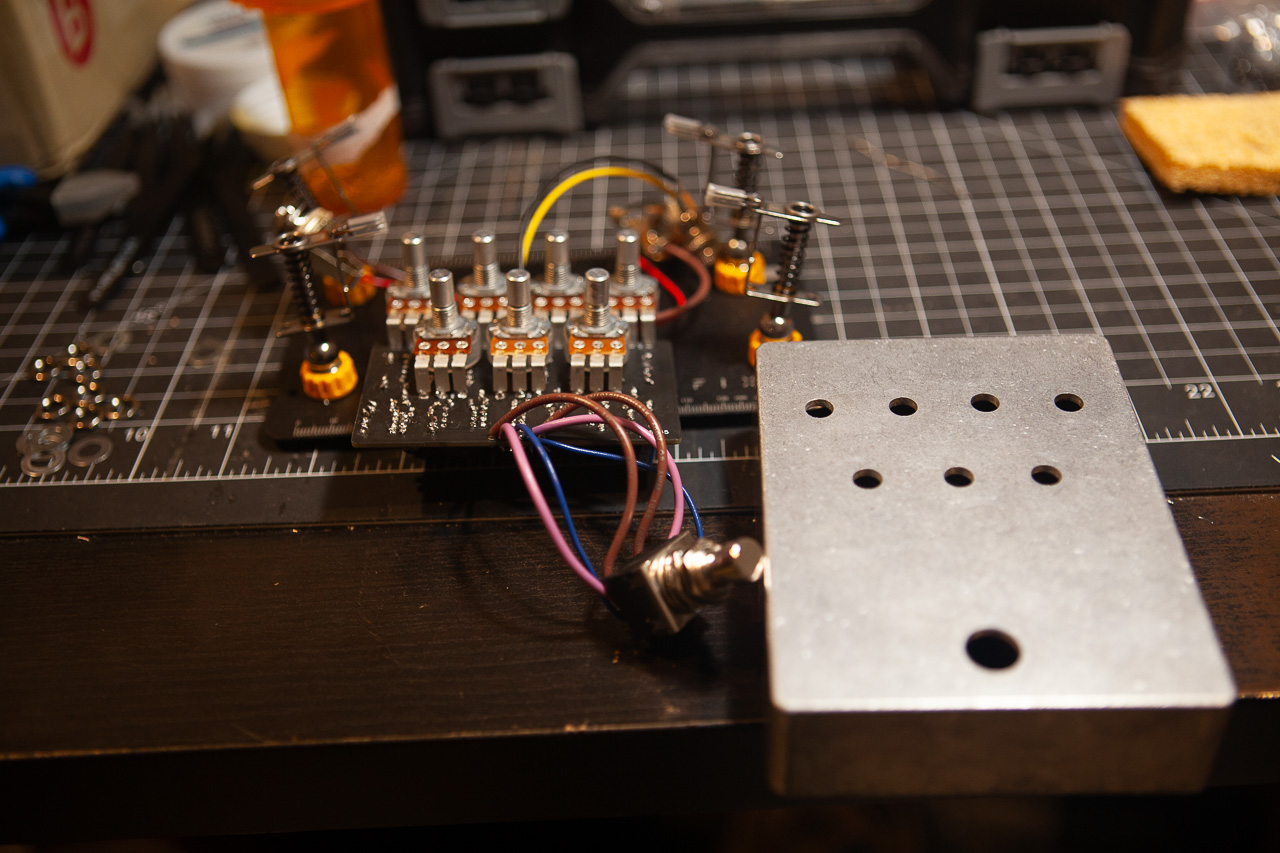
The PCB is sold by PedalPCB and requires nearly 80 components including the 7 potentiometers used for manipulating the tones it produces. For a first build, it’s a fairly large one. There are plenty of much simpler builds that would have been an easier on-ramp to pedal building. Being such a big long-time fan of Tool’s music, I just knew this is where I had to start, complexity be damned.
Even though this was my first time doing PCB soldering, I do have prior experience from assembling around a dozen speaker crossover circuits. Those all amounted to direct component point to point wiring of fairly chunky components that were simply hot glued and zip tied to thin scraps of plywood or MDF board. Working at PCB scale was a completely new experience for me. With those previous projects, I’d used a fairly basic Weller soldering station which did a perfectly acceptable job for what it needed to do. For this project, I wanted an iron that could offer a bit more finesse for finer work and a few more bells and whistles. The PINE64 Pinecil and PinePower desktop power supply turned out to be a great pairing choice for an upgrade. Powered by a USB-C cable, it is lightweight and easy to manuever, has lots of configurable options, and heats up to working temperature in just a few seconds. The digital display on the iron shows the iron temperature so you always know when it is ready to use and the buttons make it easy to quickly turn it on and off or otherwise make adjustments.
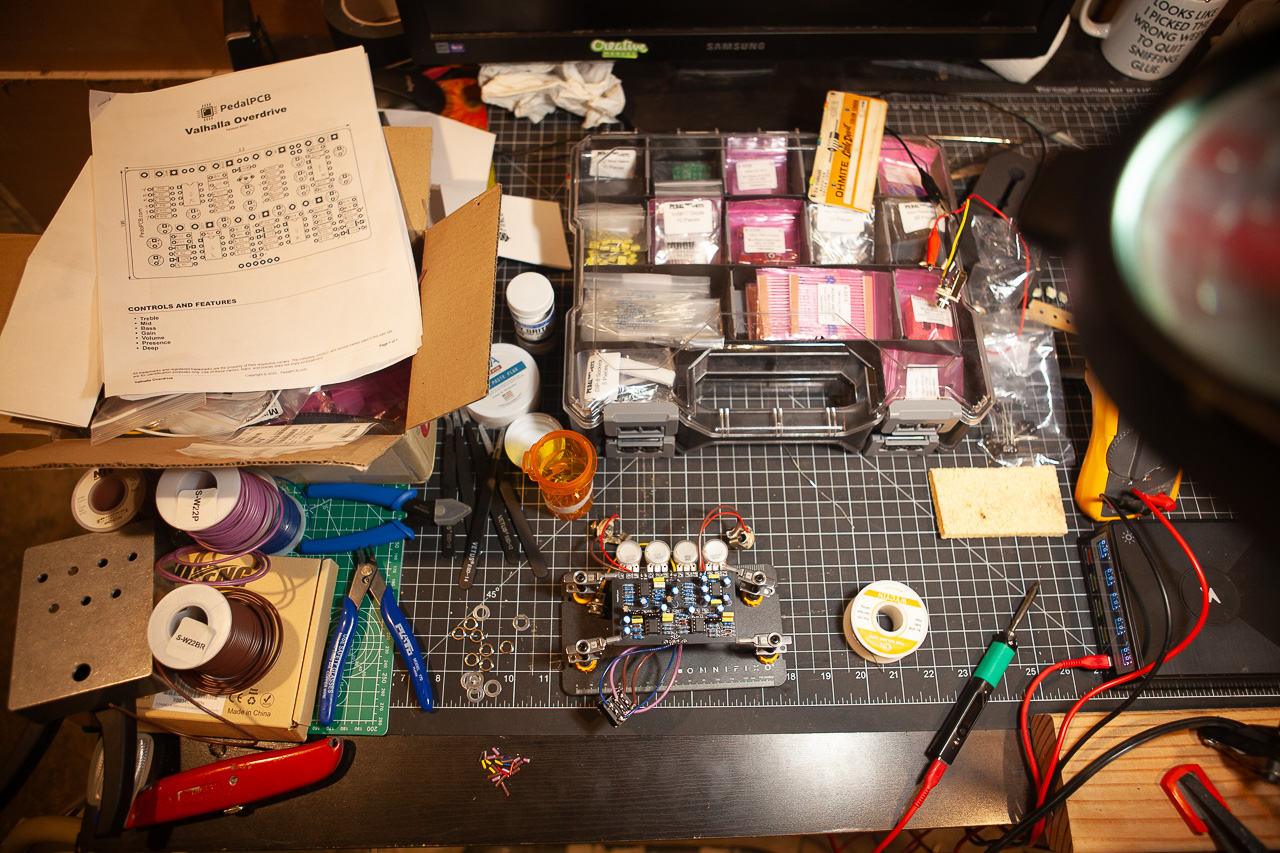
I also added the Omnifixo helping hands to my workstation. Having some sort of “third hand” solution is absolutely essential for this kind of work. I can’t imagine trying to do this sort of soldering without one. I really love the features and flexibility built into the design of the Omnifixo. Overall, it worked great for this project. My only issue with it is that every time I flipped the board over to the back side to solder the next set of components I’d placed on the front required removing it from the four clamps and then clamping them all again. This could lead to a lot of tedious flipping back and forth. Next time, I might look for a different design that can be swiveled or rotated without having to remove the part from the clamps.
Sourcing all of the required components was almost a project all on its own. I was starting with a parts inventory of zero and it took multiple orders from a few different vendors to collect everything, discover I’d missed some or gotten some wrong, and place even more orders until I finally managed to have a full parts list. There were a couple of potentiometers that I couldn’t find an exact value for and one or two capacitors that were slightly out of spec, but close enough to work. All told, I ended up sourcing parts from Tayda, Pedal Parts and Kits, Love My Switches, Amplified Parts, and Mouser by the time I was done.
Starting from zero, ordering parts, to final assembly took around a month and half (actually pretty quick for most projects I start on). While the PINE64 order shipped from China and took close to two weeks to arrive, all of the other vendors had pleasant ordering experiences with relatively quick shipping. Even the Tayda orders shipping from Thailand were surprisingly quick.
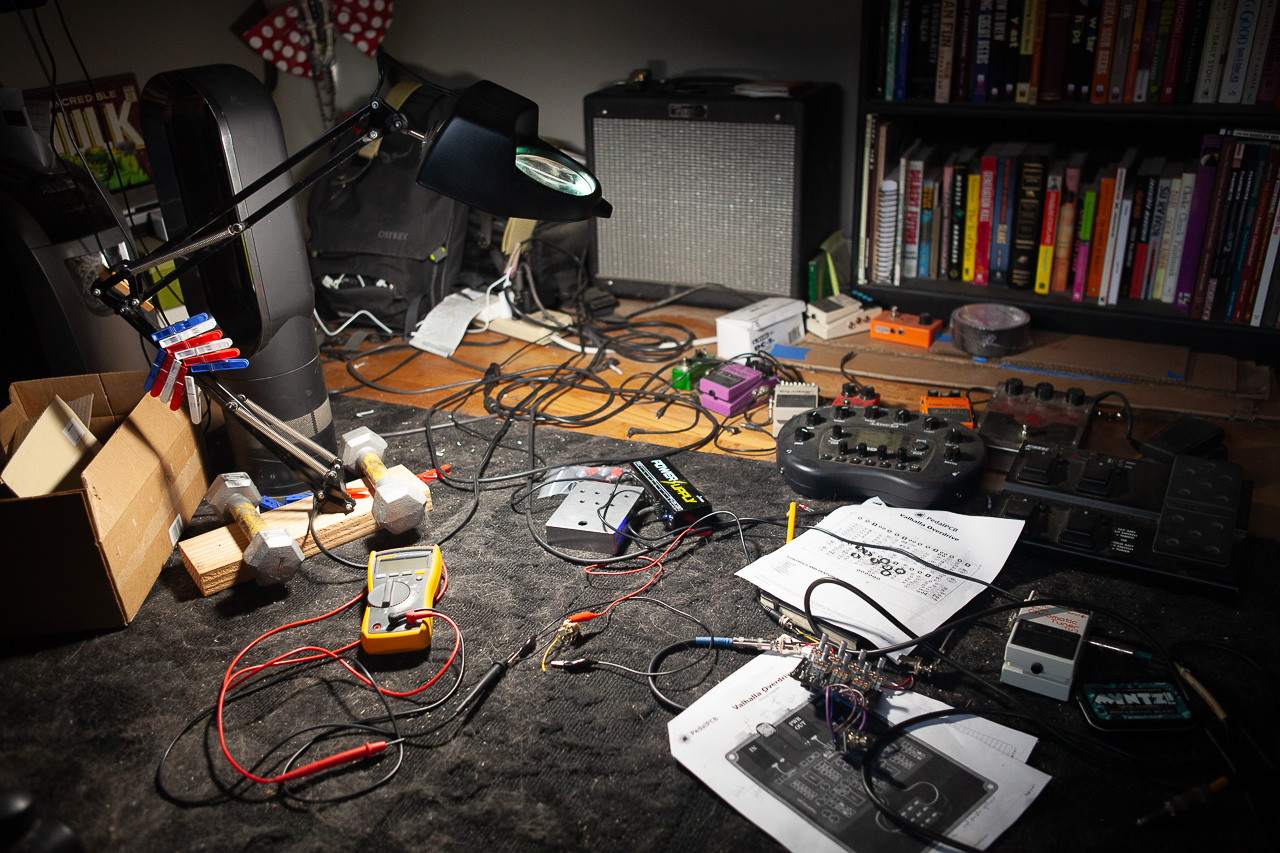
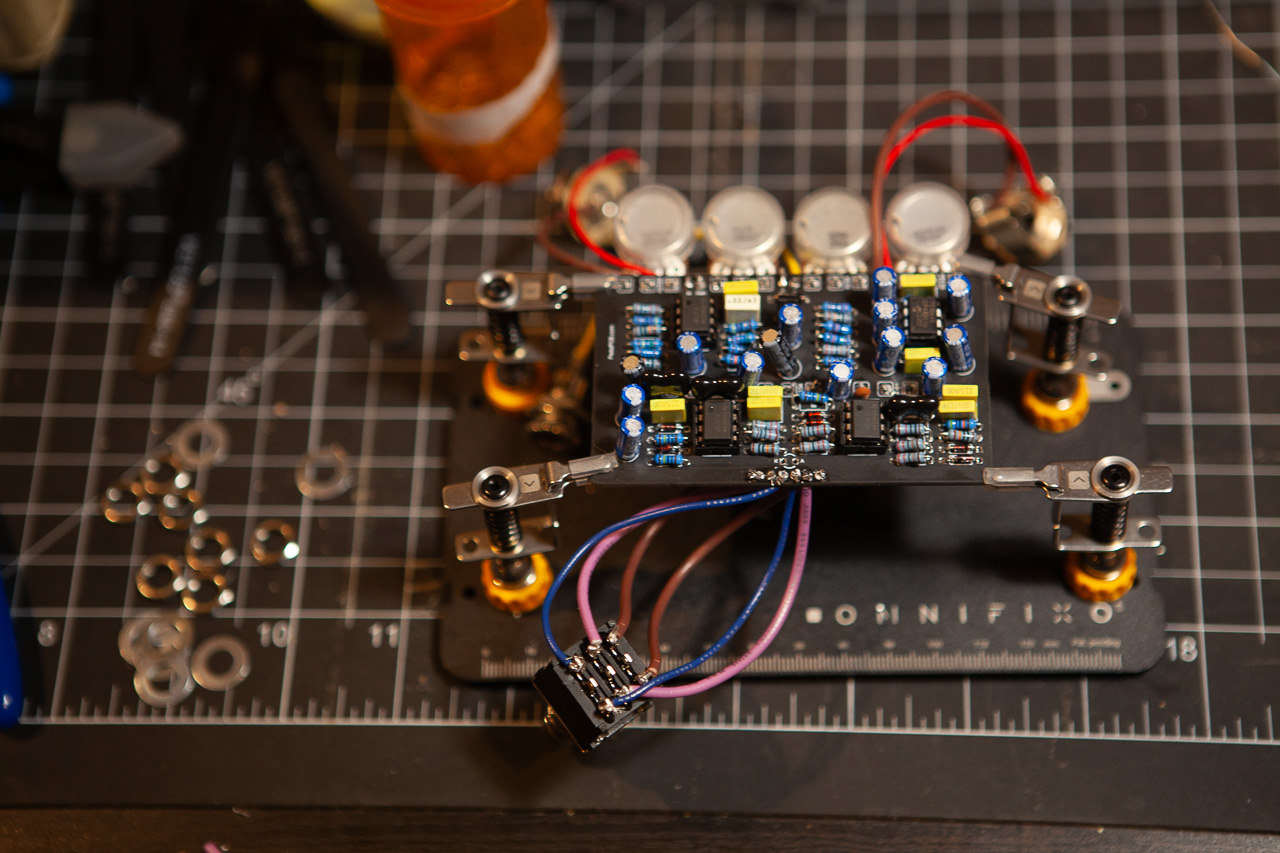
Once everything was soldered and assembled, my first test was a total dud. When I hooked it up, no sound came out at all - neither powered on nor switched to bypass mode. After a frustrating few hours of troubleshooting with an audio probe, I eventually landed on the errant hookup of a 3PDT wiring board that I really didn’t need to begin with. Once I swapped it out for a directy wired foot switch, the pedal finally roared to life with all of the crunchy distortion that I’d dreamed of. My fears of inexperienced and botched soldering and a defeated flop of a project were instantly replaced with the elated joy for my new tone-producing toy.