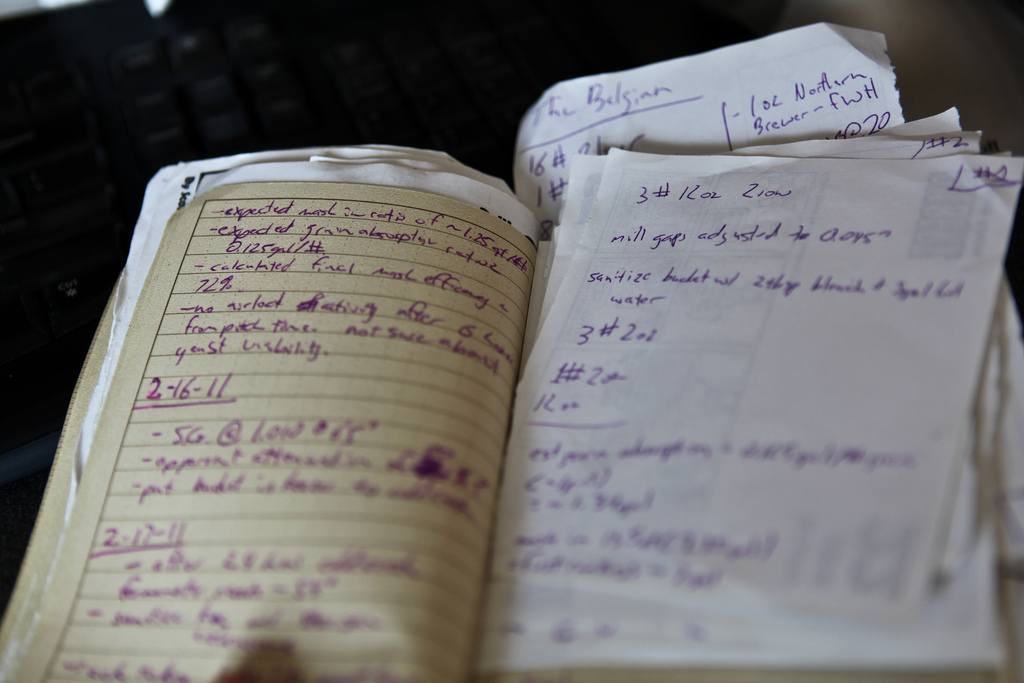
It’s been over a year since I’ve brewed something falling into the Belgian style category.
My last attempt was a golden strong ale called Blonde Bombshell.
It was also my second brewing experience ever. In the intervening time my knowledge and process has changed significantly.
I’ve gone from brewing partial-boil extract recipes taken from the internet to all-grain full-boil batches created from my own custom designed recipes. Regardless my advances, I’m always finding areas of my techniques and processes to improve upon from one session to the next.
One of the more advanced brewing process controls is water quality. This can extend all the way from very simple water source control to precise adjustments of specific pH and mineral levels. I’ve chosen to start very simply by just filtering my water. Up to now I’ve always used water directly from the tap. After all, San Francisco is claimed to have some of the best tap water in the country – I drink it every day.
Unfortunately, I’ve come to realize all of the water that I’ve been using for the last several batches might not be from the best source – the good old green backyard garden hose. While there may be some dispute on how the green backyard hose really affects your water and whether it infuses any of its own off flavors in the final product, I’ve chosen the safe route by introducing a water filter and getting rid of the garden hose completely.
My solution is an activated charcoal filter made to fit inside of a standard 10” water filter housing. These are commonly used in house or RV applications and can be readily found at most large hardware stores. With a bit of additional tubing, clamps and hose fittings, an effective inline filter hooking directly to your water supply can be put together pretty simply. Some brewing supply stores also sell
preassembled kits.
The activated charcoal filter will filter out most volatile organic chemicals including chlorine, sediment and other potentially unwanted flavor and smell contributing compounds without affecting other water characteristics such as mineral and salt levels. As an added bonus, the same filter housing can also be used for filtering the fermented beer prior to carbonation. Charcoal filters should not be used beyond the initial brewing water step. A spun polypropylene filter should be placed inside the housing instead. These filters typically have a rating ranging from .5 to 3 microns depending on the level of filtering that is desired. A rough filter rated at 3 microns will remove large sediment while a 1 micron or smaller filter will begin to remove yeast and potentially strip out some other flavor-contributing compounds.
Recipe information
The Belgian
Batch Size 6gal
Boil Size 7.25gal
Belgian Dark Strong Ale
Boil 60 min
Brewhouse Efficiency (73%)
| Bill | % |
|---|---|
| Belgian Pilsner Malt 16# | 78.05% |
| Caramunich Malt 1# | 4.88% |
| Flaked Wheat 8oz | 2.44% |
| Special B 4oz | 1.22% |
| Dark Candi Syrup 12oz (@15min) | 3.66% |
| Clear Candi Syrup 2# (@15min) | 9.76% |
Hop Schedule
| Addition | IBU |
|---|---|
| Northern Brewer 8.5% 1oz @FWH | 18.5 IBU |
| Northern Brewer 8.5% .5oz @20min | 5.1 IBU |
| Whirlfloc @15min |
Yeast White Labs WLP500 Trappist Ale
O.G. 1.089 SG
F.G. 1.012 SG
IBU 23.6
ABV 10.10%
Mash 60 min
Strike Temp 165.9°F
Mash Volume 25.63qt
Temp 154°F
Sparge Volume 3.55gal
Temp 168°F
- The Recipe is based on a standard simple single infusion all-grain mash using modern well modified grains. The values are calculated based on an average 70-80% brewhouse efficiency, so your values may change depending on your system capabilities.
I’ve tried to stick with the Belgian style of a clean, simple grain bill so that the yeast can take center stage in producing the key flavor profile notes. Candi sugar also provides a healthy amount of fermentable sugar, boosting the final ABV. The sugar is split between clear and dark varieties with two thirds being clear. The remaining third is dark syrup, adding more color and flavor intensity to the final brew. While the recipe calls for less than a full pound of dark syrup, I’ve ended up using a full pound in this batch. The packaging makes it more convenient to use the entire contents rather than attempt to save the rest for future usage.
Final Thoughts
I’m finishing writing this up some time after the last of the keg has finally kicked. I’ve bottled up a dozen or so bottles of this batch to age and save for future special events. Not all of the batches I’ve crafted from my own recipes have been home runs. In fact, at least a few have been largely mediocre – not bad, just not particularly noteworthy. This is the first one in a while I feel like I’ve really nailed right out of the gate. I’ll definitely be keeping this recipe around for future batches as it stands. I look forward to reworking those other less than stellar recipes and hope to end up with something I can get as excited about as this one.
